Use the Motion Control Core with Home Assistant to control four motors, read switch inputs and operate RGB lighting and PWM outputs. Home Assistant provides the dashboard and automations, while ESPHome builds the firmware. Start with the supplied configuration.
Installing ESPHome replaces grblHAL. Back up your grblHAL settings first. These examples are for demonstrations and custom projects; they do not provide coordinated CNC motion, homing or G-code control.
¶ Preparation
- Motion Control Core, USB-C data cable and a computer running Chrome or Edge.
- A Home Assistant installation and a 2.4 GHz WiFi network reachable from it.
- Optional demo loads: motors, input switches and three WS2812 LEDs.
Follow the Motion Control Core wiring guide for electrical connections.
Start with motor power disconnected and toolheads disabled. The example requests 1 A per motor and enables the motors after boot when all stop inputs are clear. Check current ratings and input polarity before applying motor power.
¶ Step 1: Home Assistant Setup
If you already use Home Assistant, skip to Step 2. Otherwise follow the Home Assistant installation guide to install Home Assistant OS, or use a Home Assistant Green. Open the address shown by your installation, create your account and finish onboarding.
The screenshots show an existing Home Assistant installation. Use your own server address, Motion Control Core IP address and serial port.
¶ Step 2: Install ESPHome Device Builder
| Image | Instructions |
|---|---|
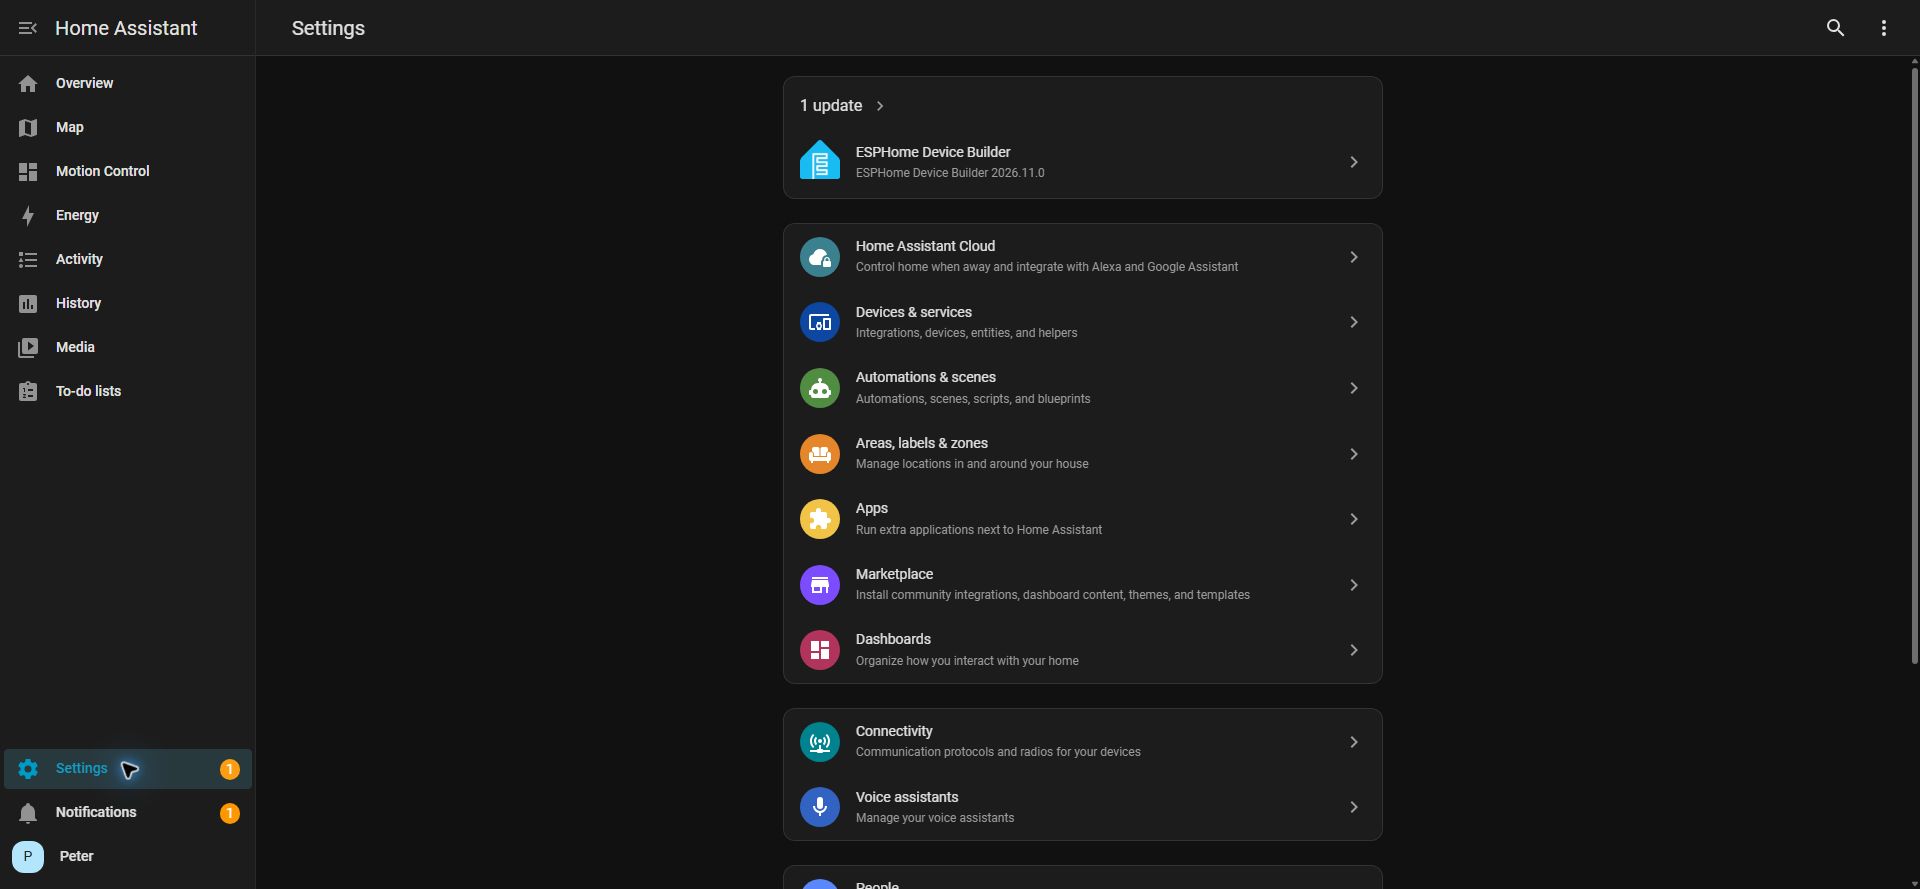 |
|
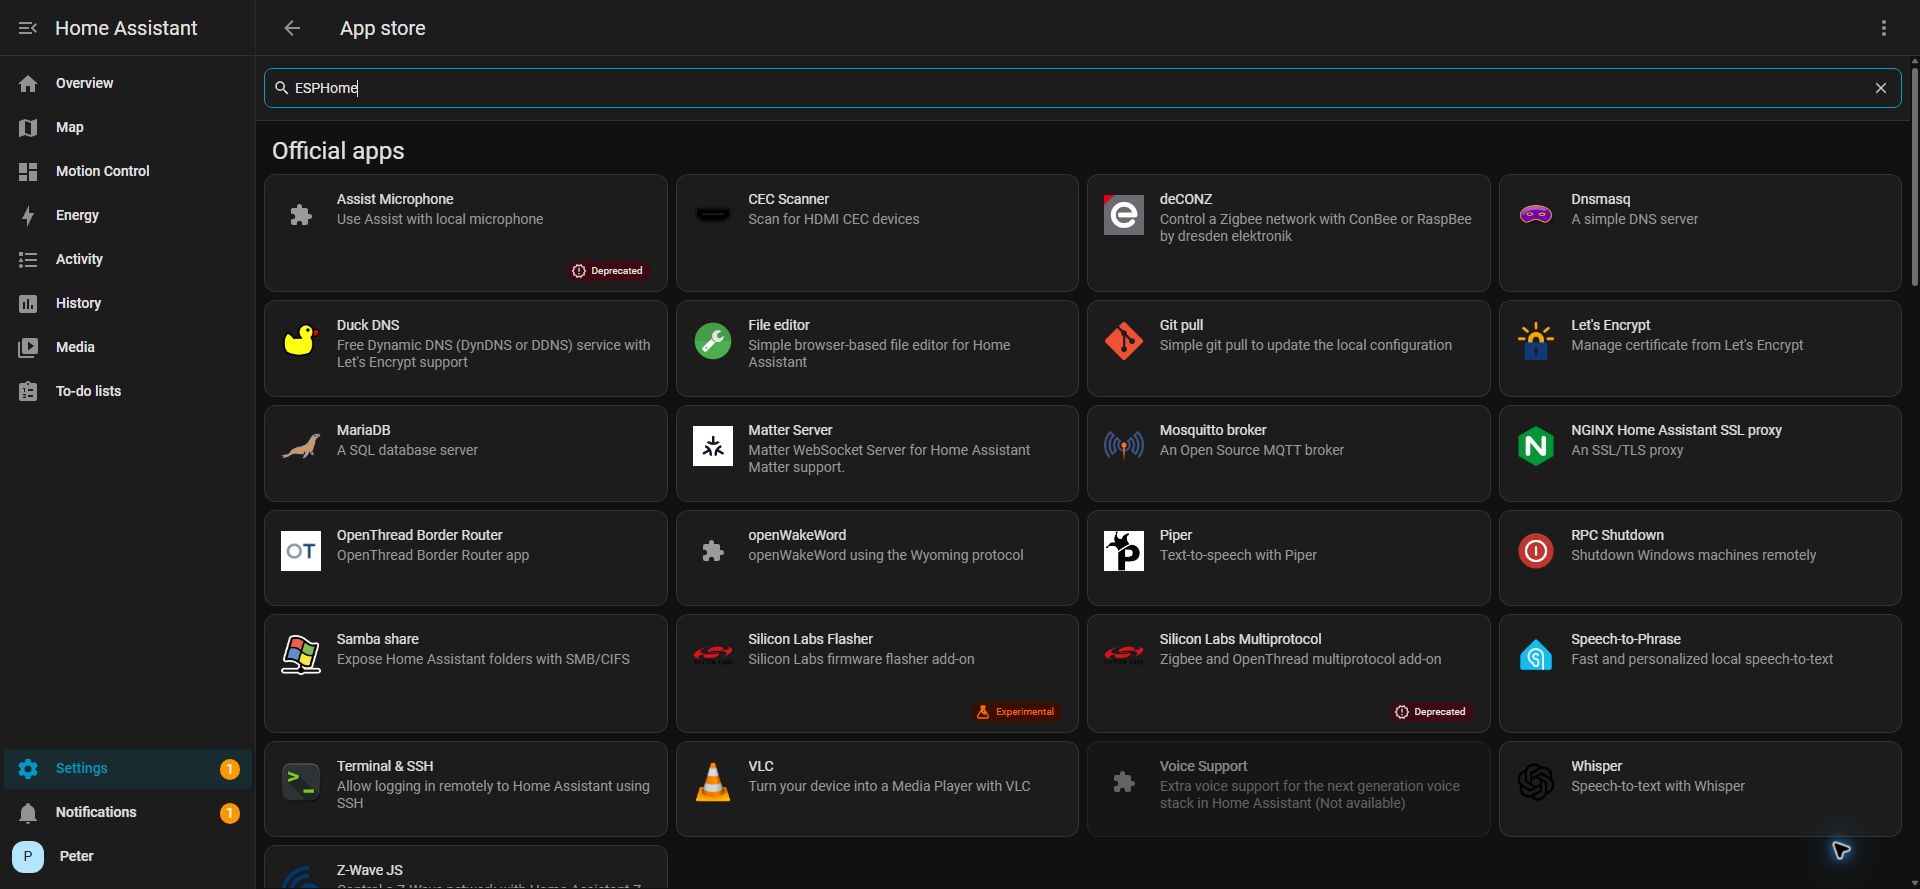 |
|
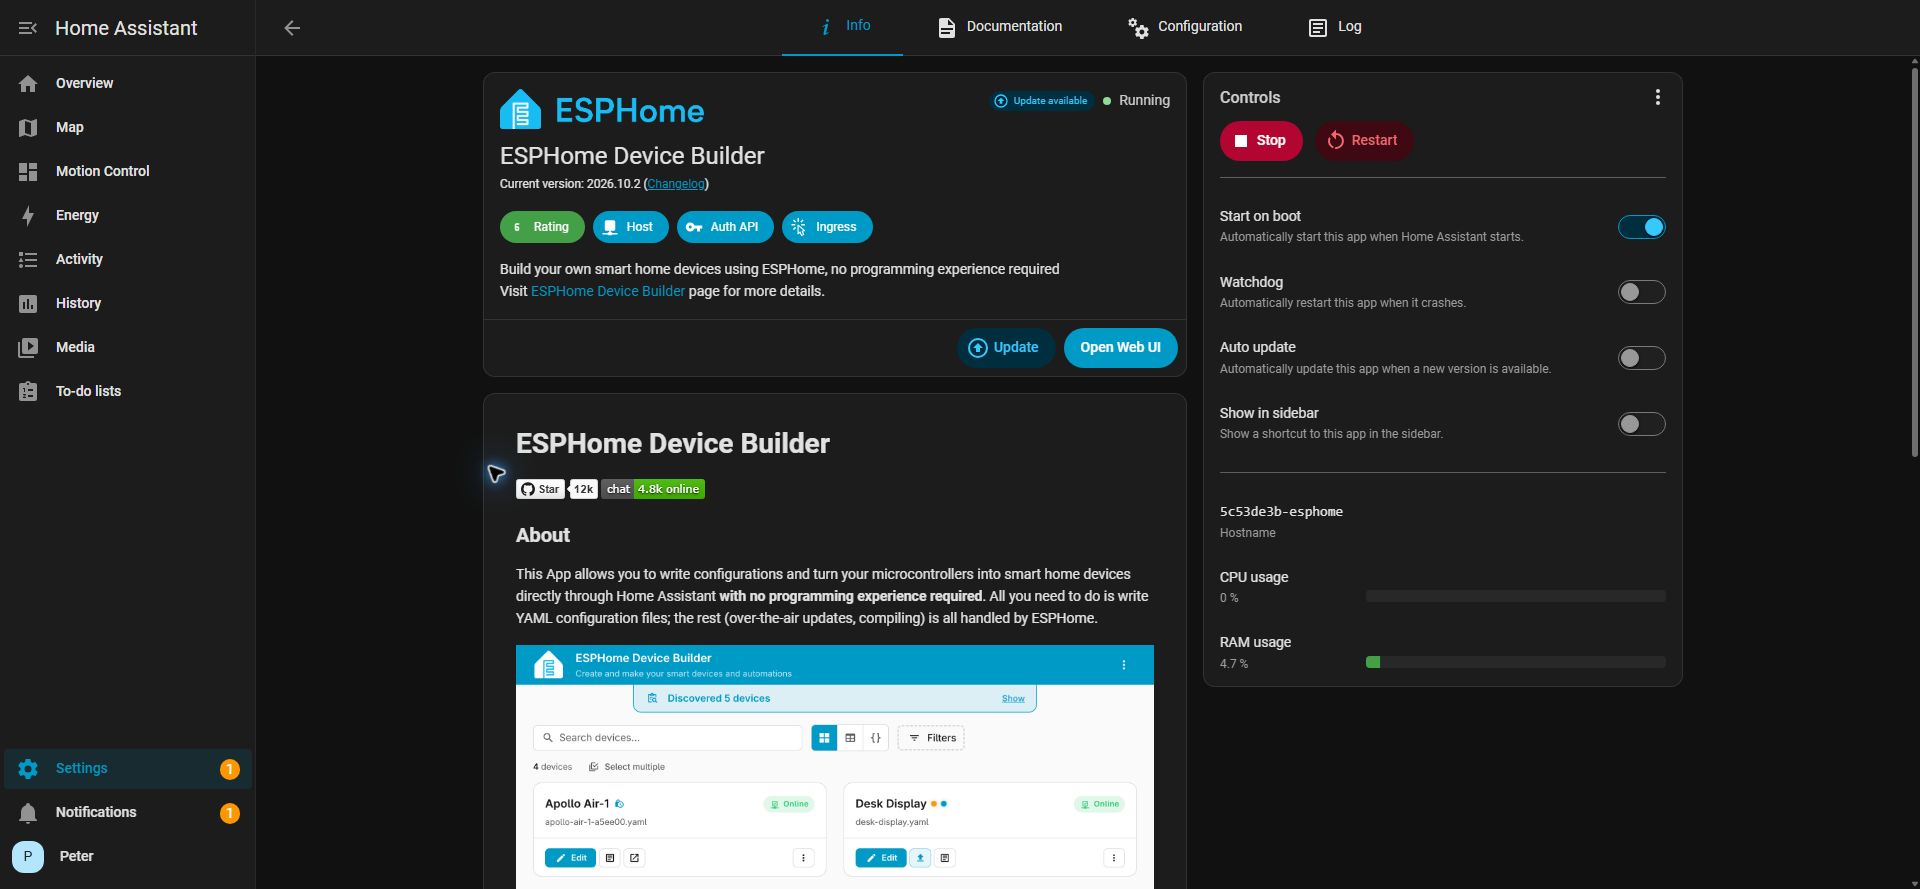 |
|
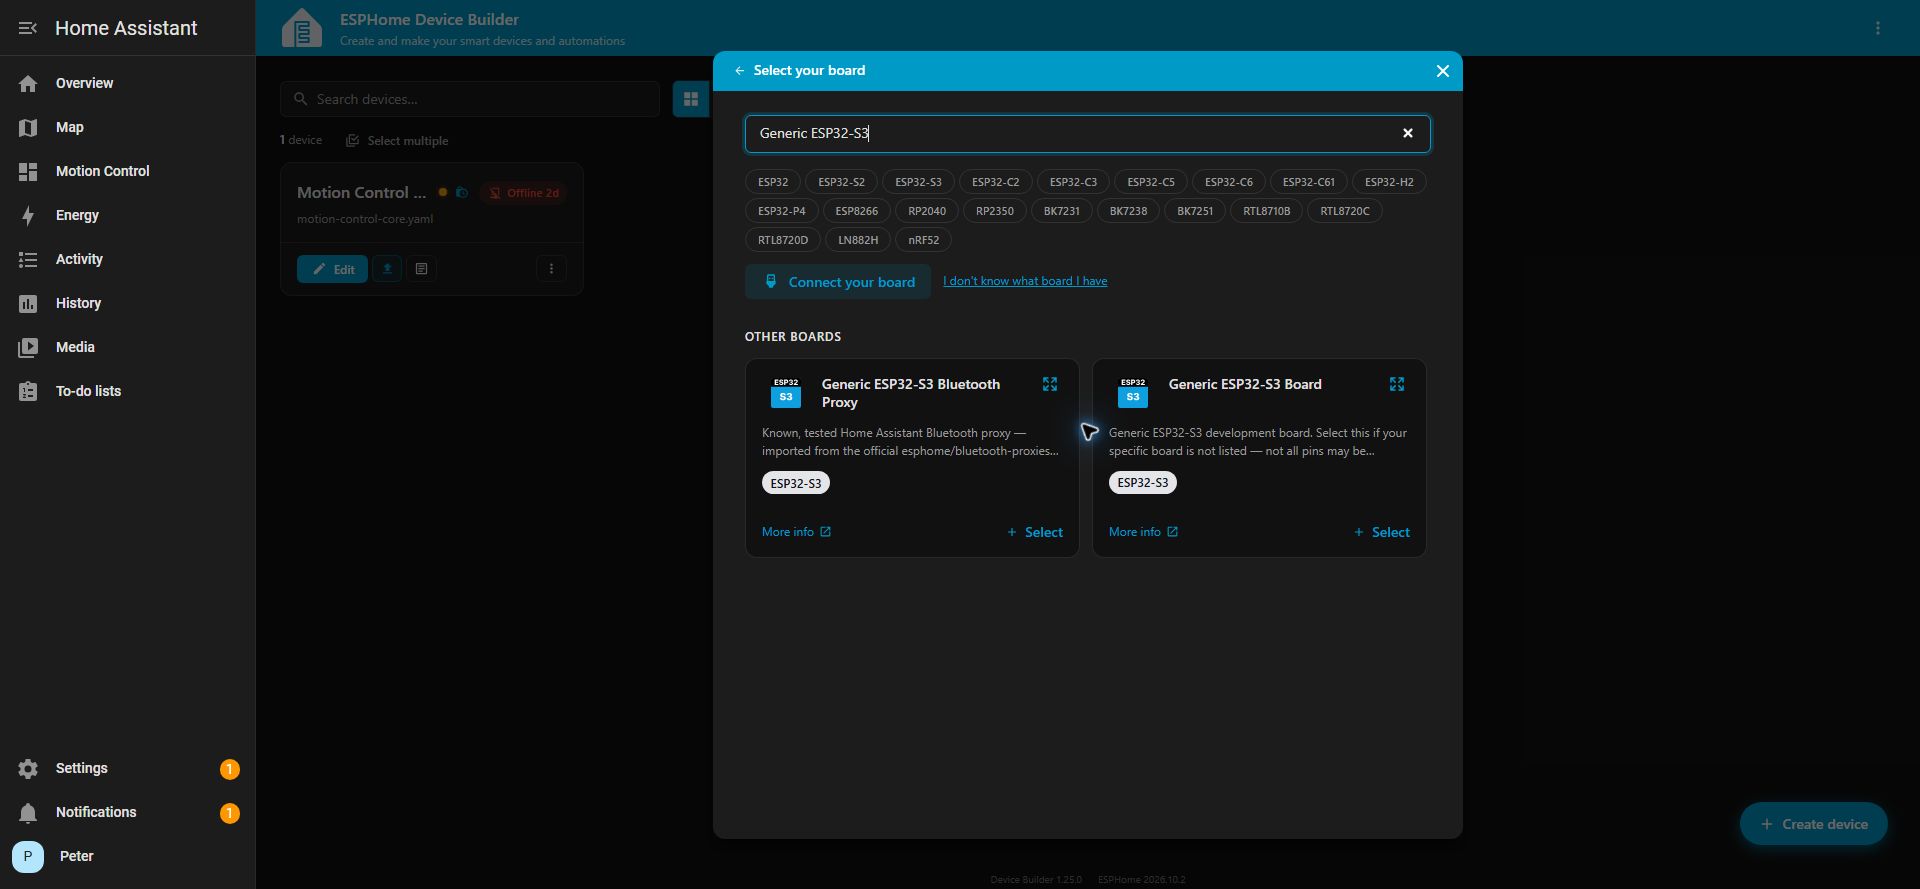
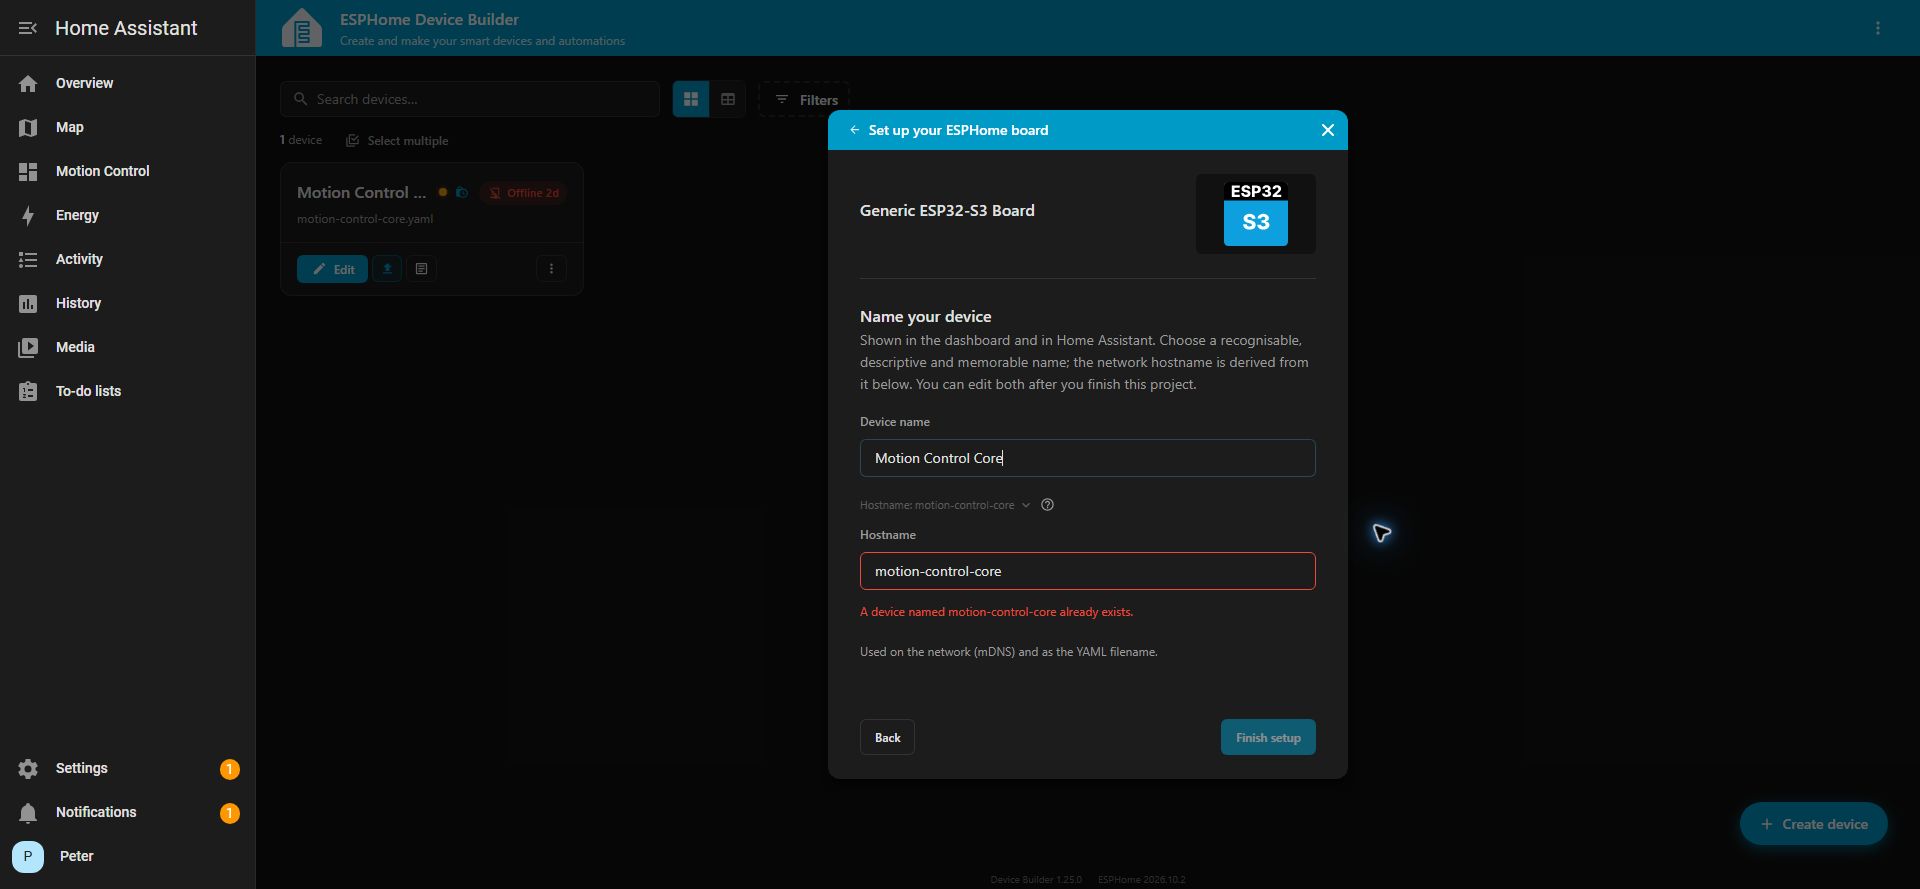
¶ Step 3: Create the Device
| Image | Instructions |
|---|---|
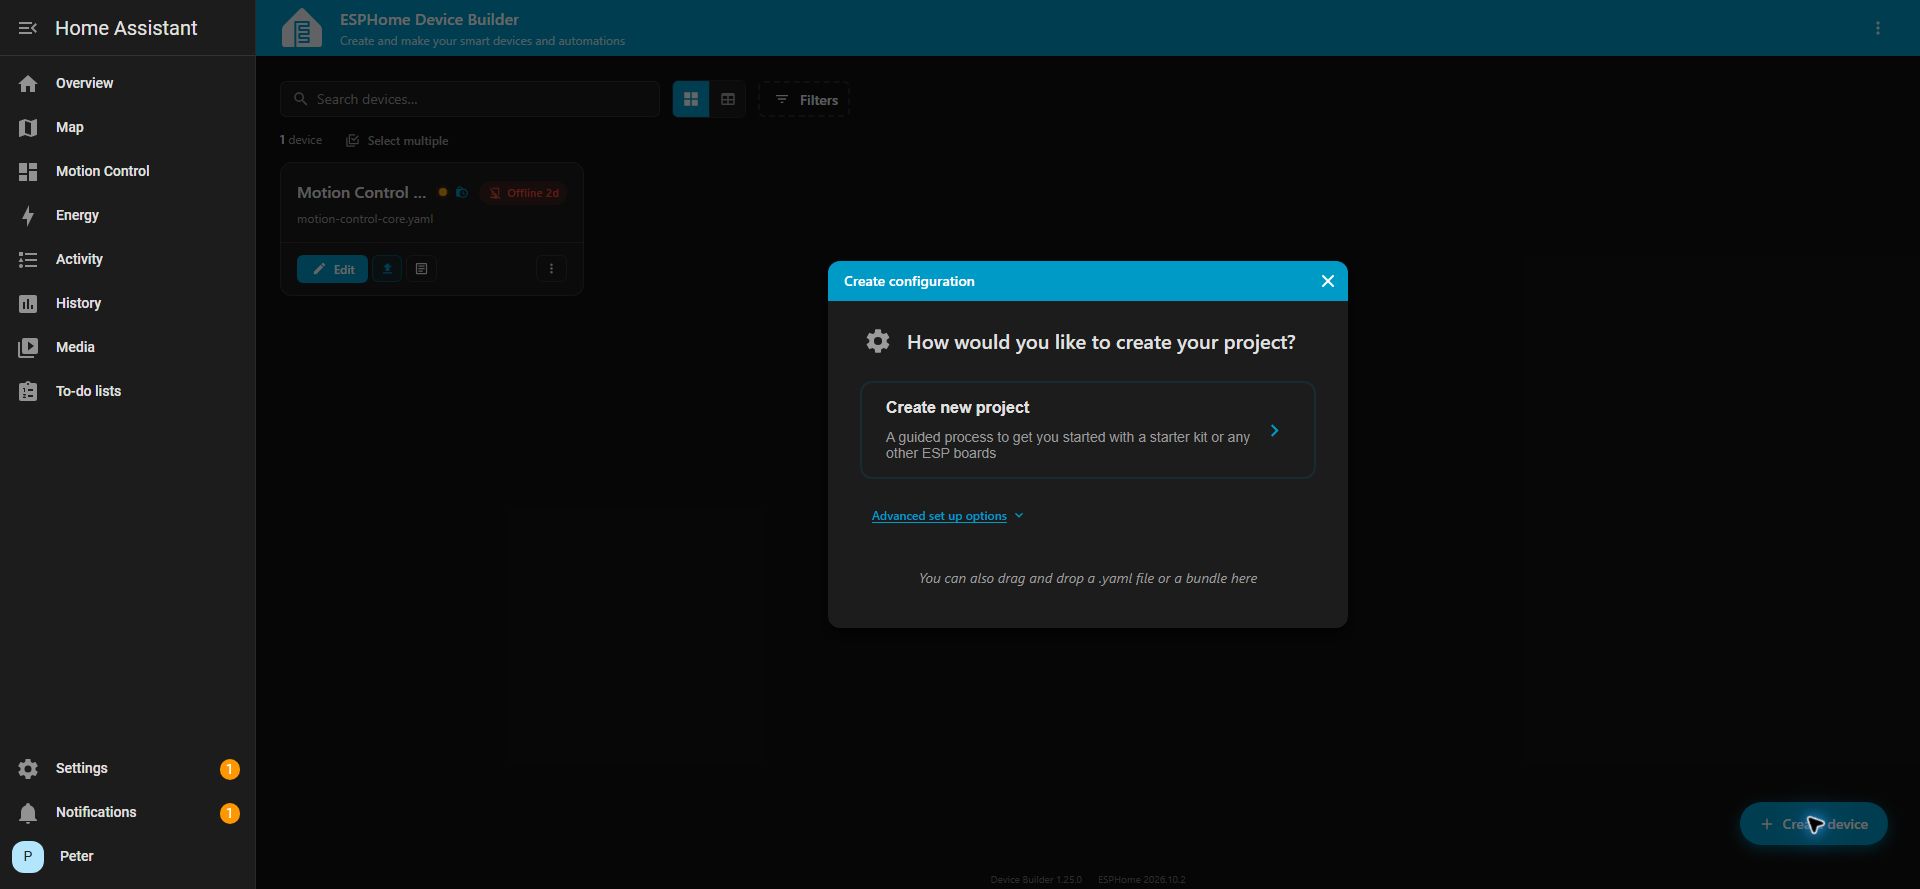 |
|
 |
|
 |
|
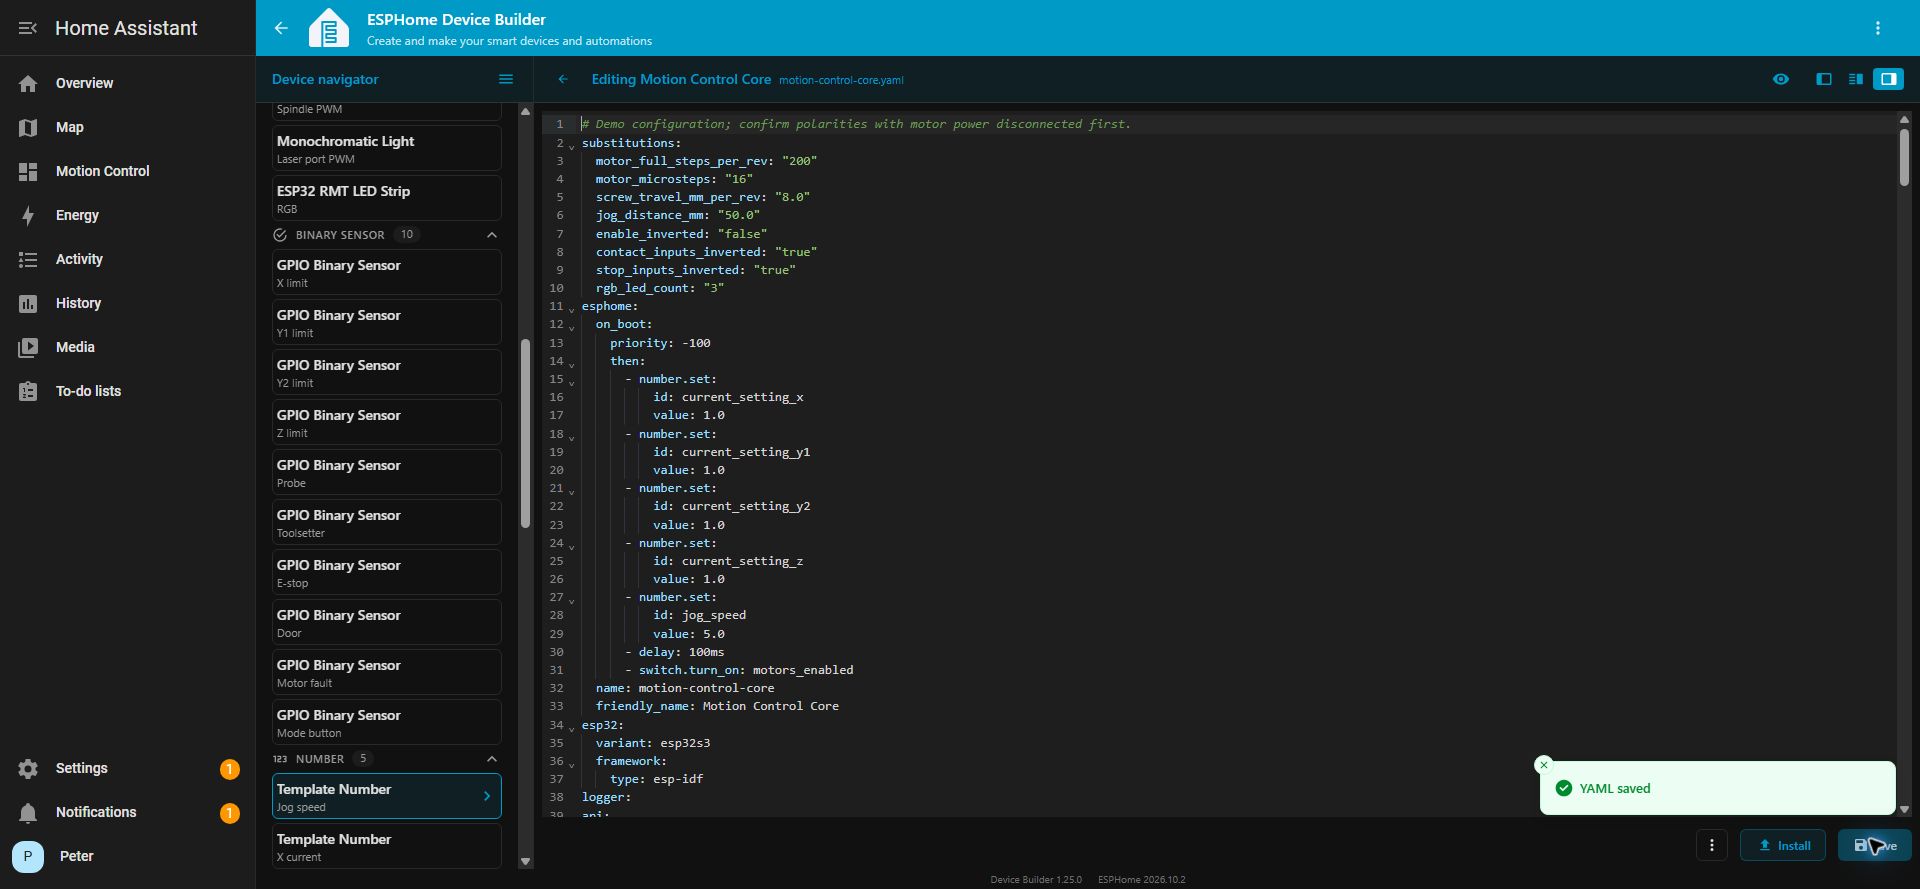
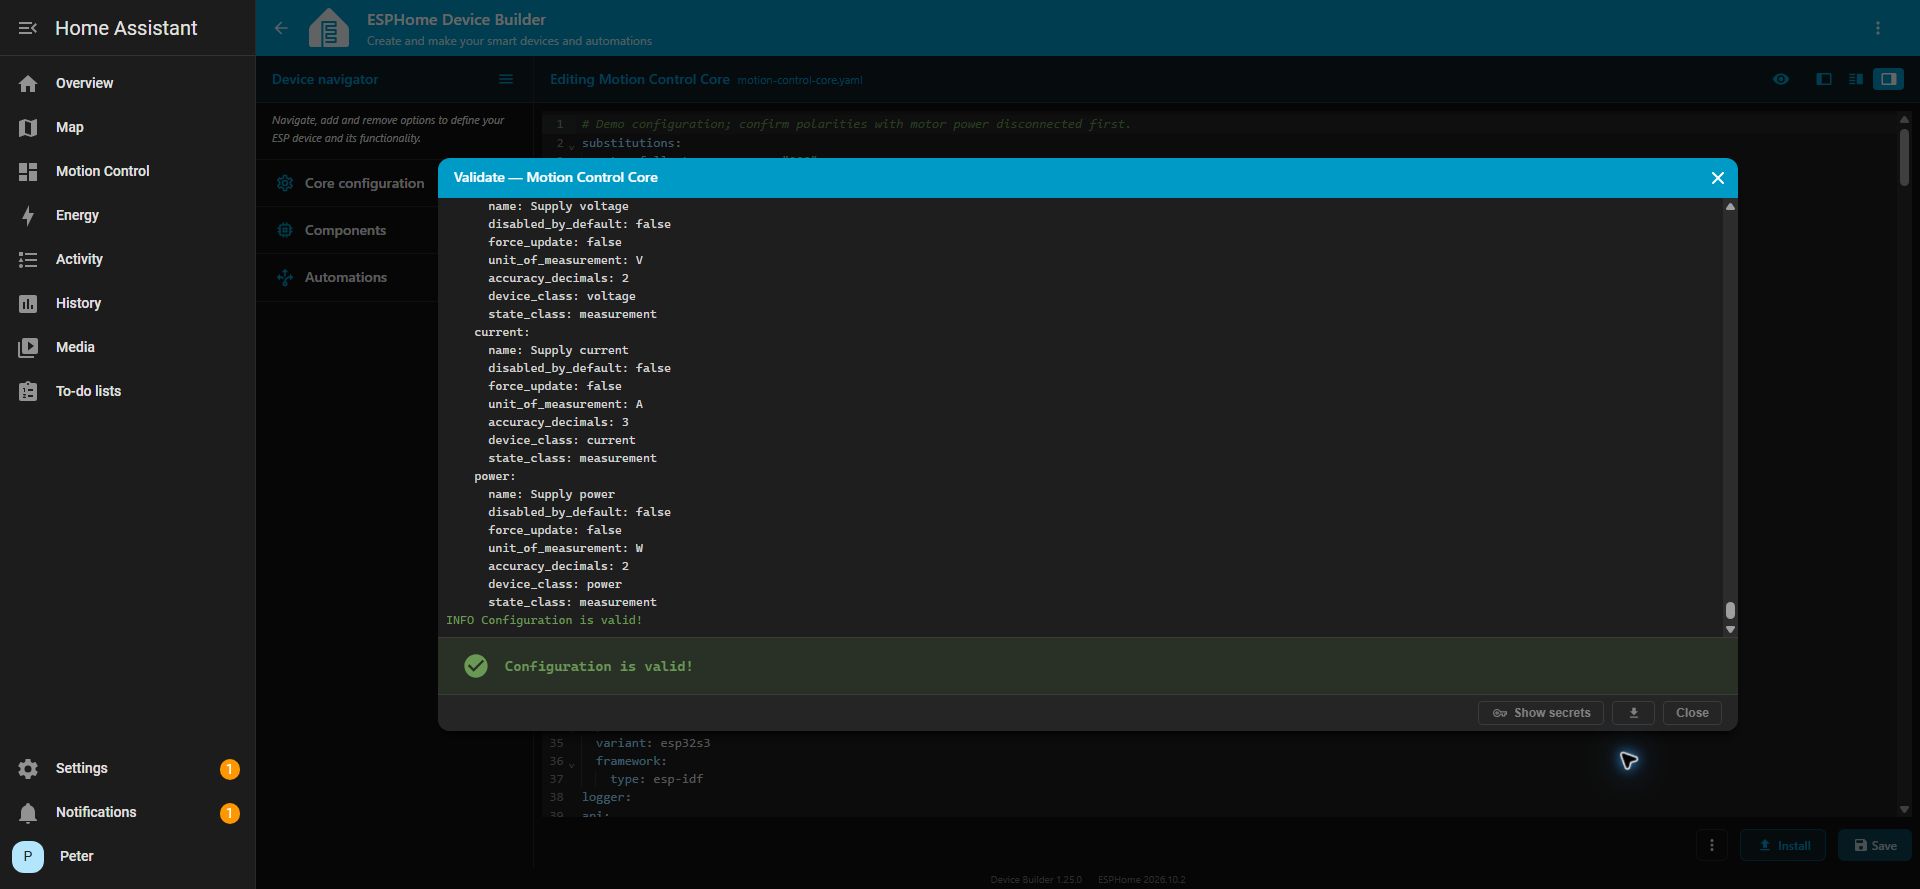
¶ Step 4: Configuration
Download the complete ESPHome YAML and secrets example.
| Image | Instructions |
|---|---|
 |
|
 |
|
wifi_ssid: "YOUR_2_4_GHZ_WIFI_NAME"
wifi_password: "YOUR_WIFI_PASSWORD"
api_encryption_key: "PASTE_THE_KEY_GENERATED_BY_ESPHOME_HERE"
fallback_ap_password: "CHOOSE_A_PASSWORD_AT_LEAST_8_CHARACTERS"
Keep these values in secrets.yaml and keep real passwords and encryption keys private. If the wizard did not generate a key, use the generator in the ESPHome API encryption documentation.
¶ Step 5: Install Firmware
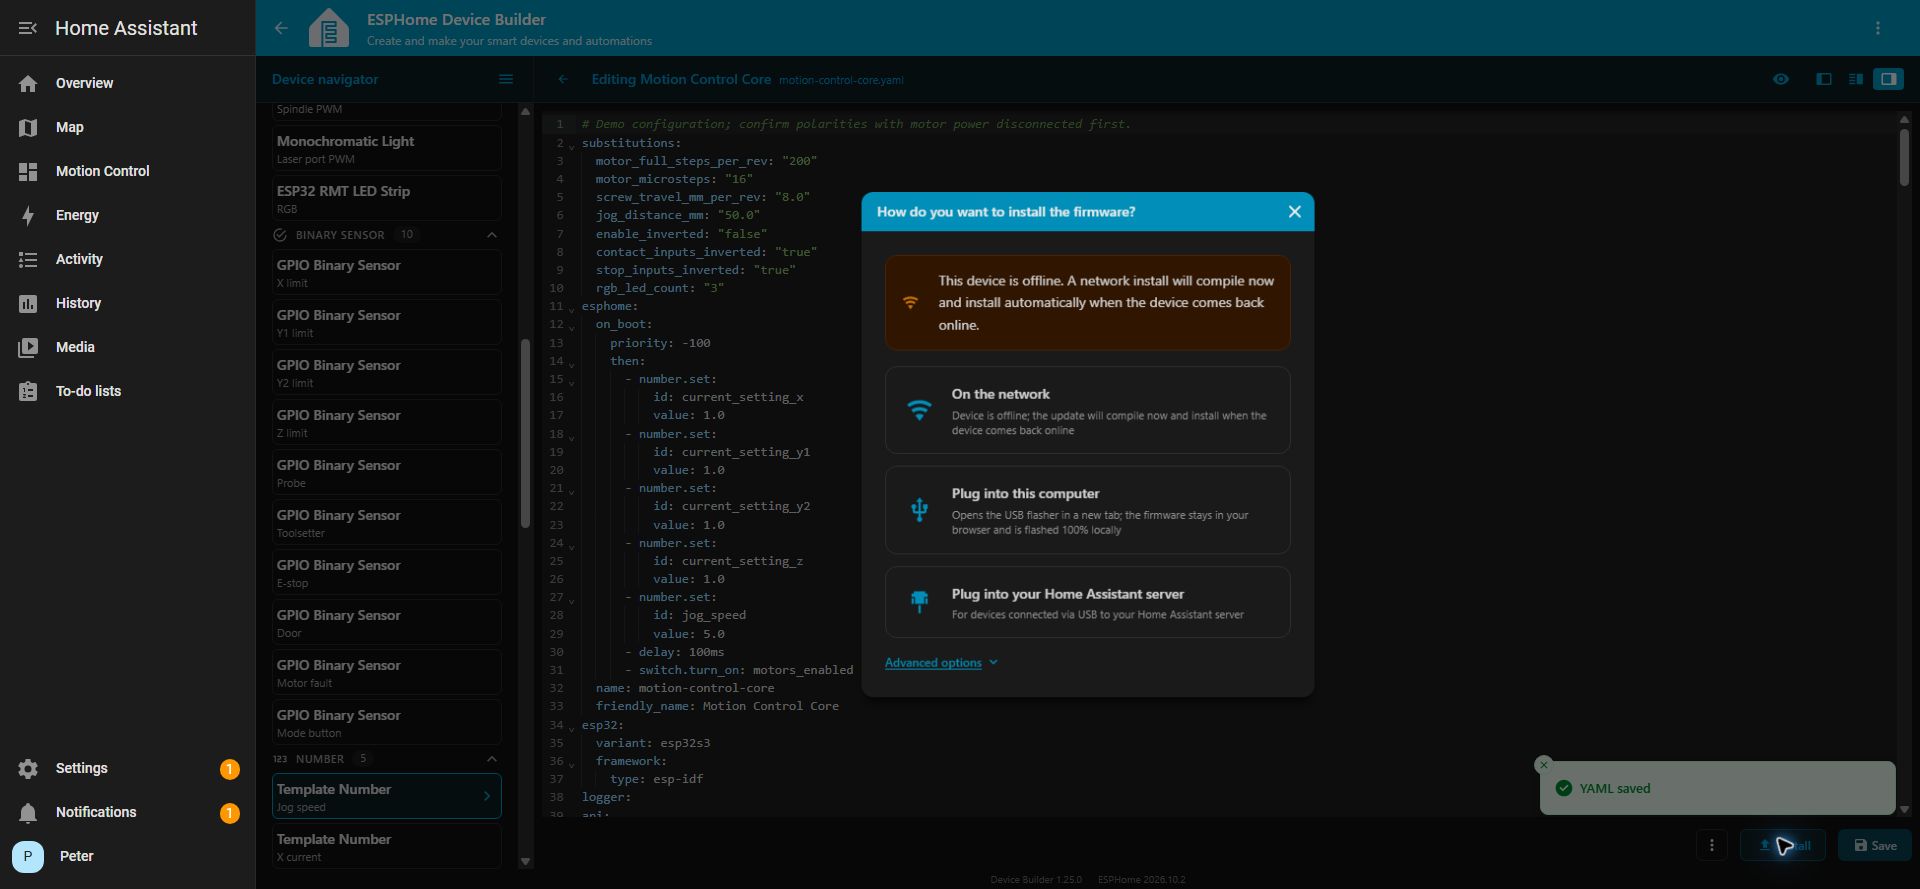
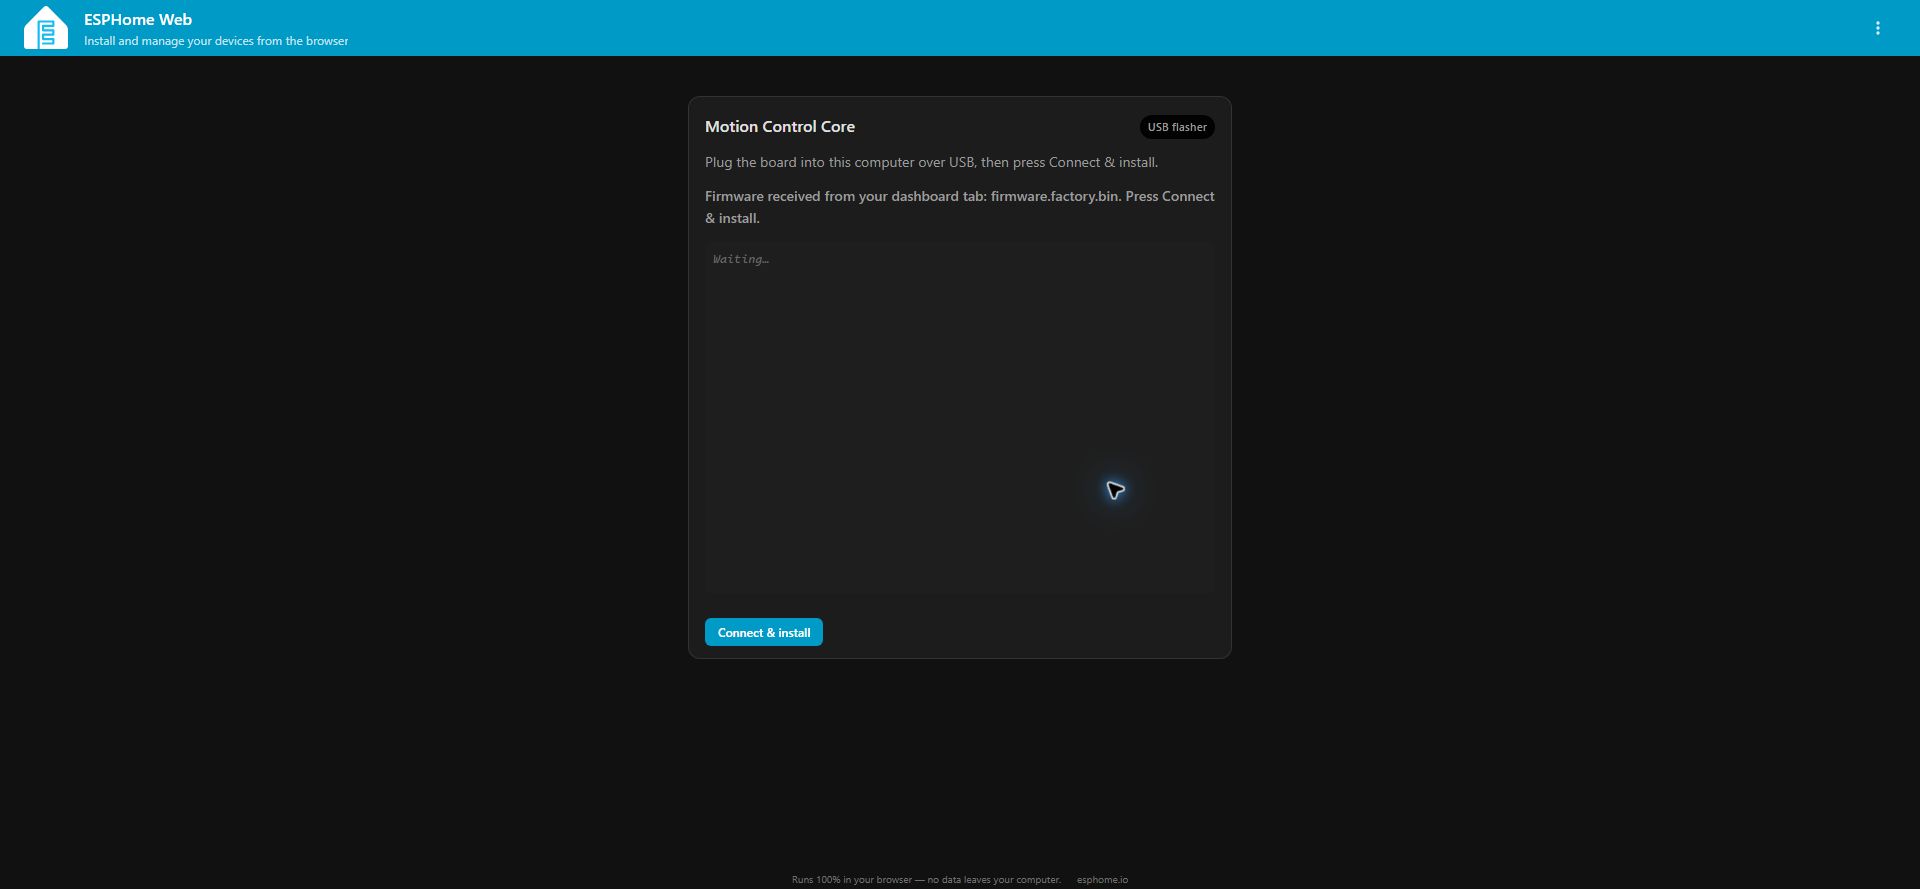
Connect the Motion Control Core to the computer running your browser, using a USB-C data cable.
| Image | Instructions |
|---|---|
 |
|
 |
|
 |
|
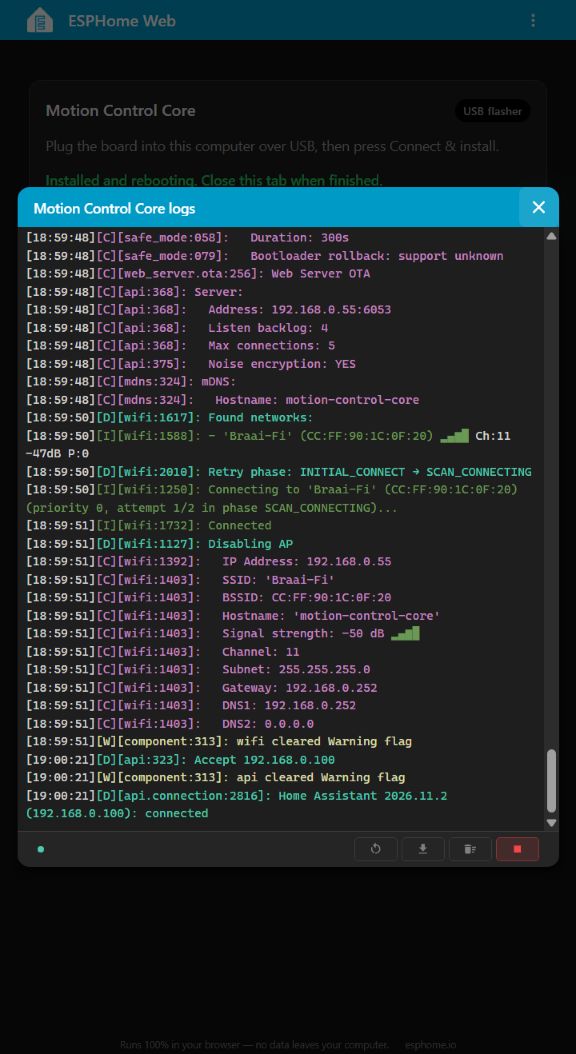
The ESP32-S3 may use a different serial port after reboot. Select the new port for logs. Do not keep it in bootloader mode.
¶ Step 6: Connect In Home Assistant
| Image | Instructions |
|---|---|
 |
|
 |
|
 |
|
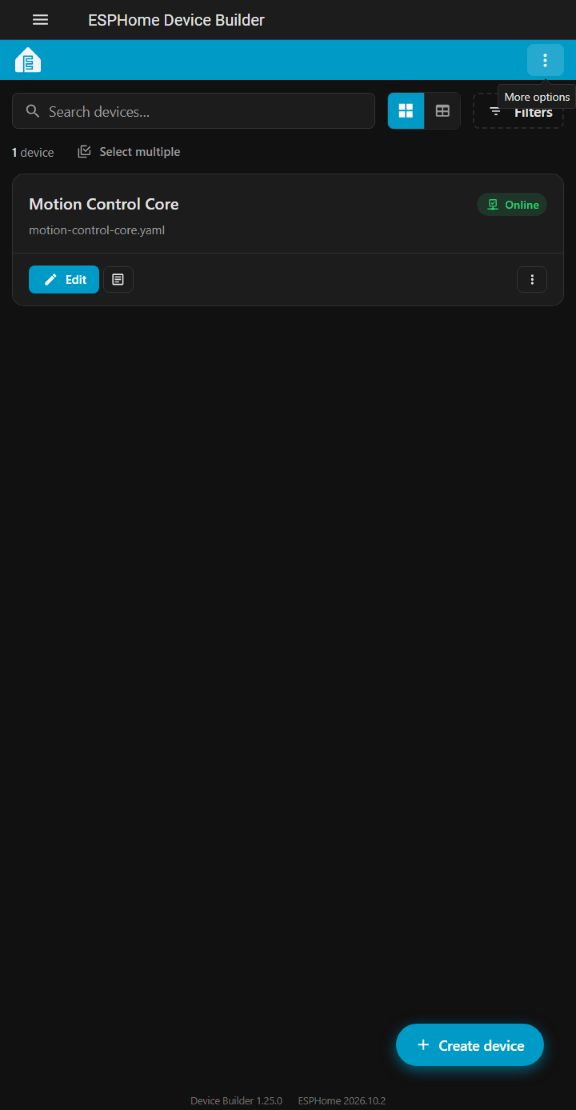
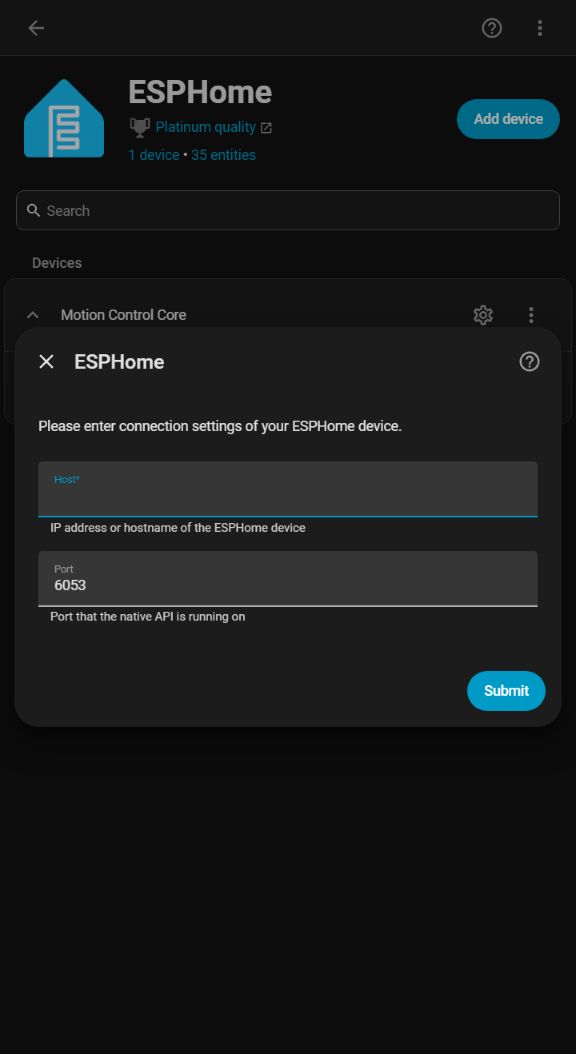
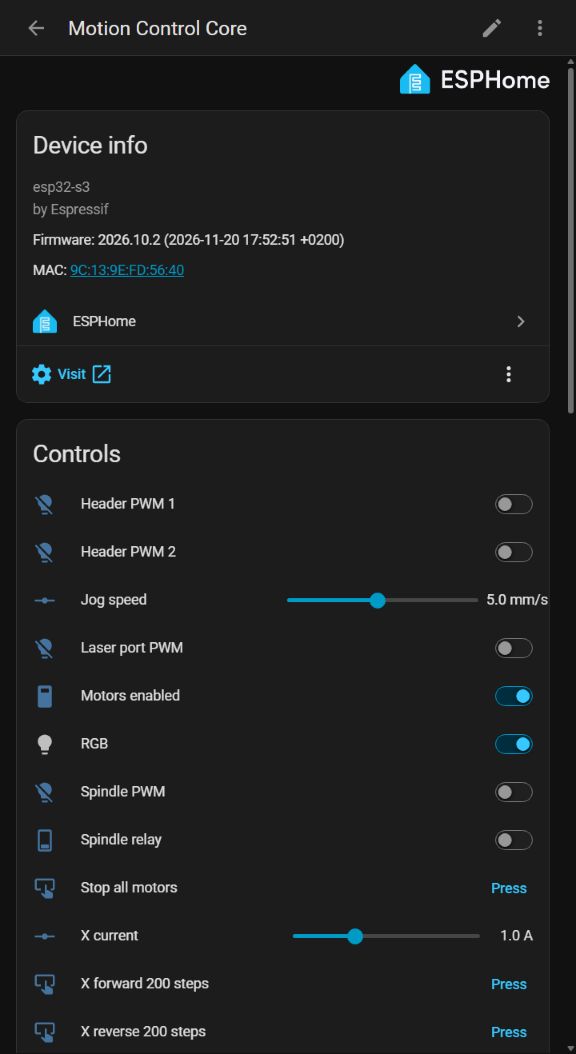
Connect to the Motion Control Core through Home Assistant. This firmware does not provide a web page at the Motion Control Core's IP address.
¶ Step 7: Dashboard
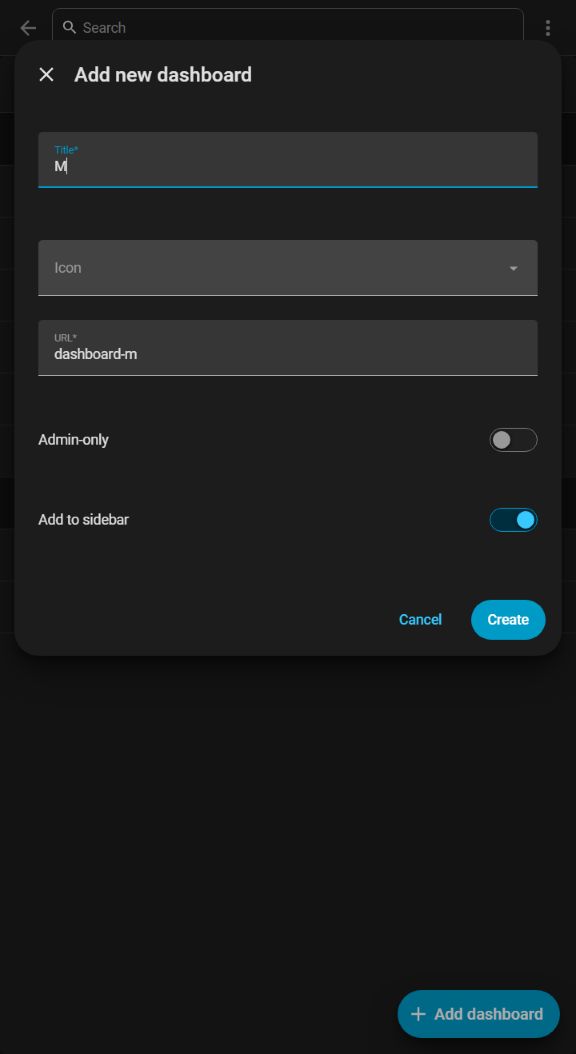
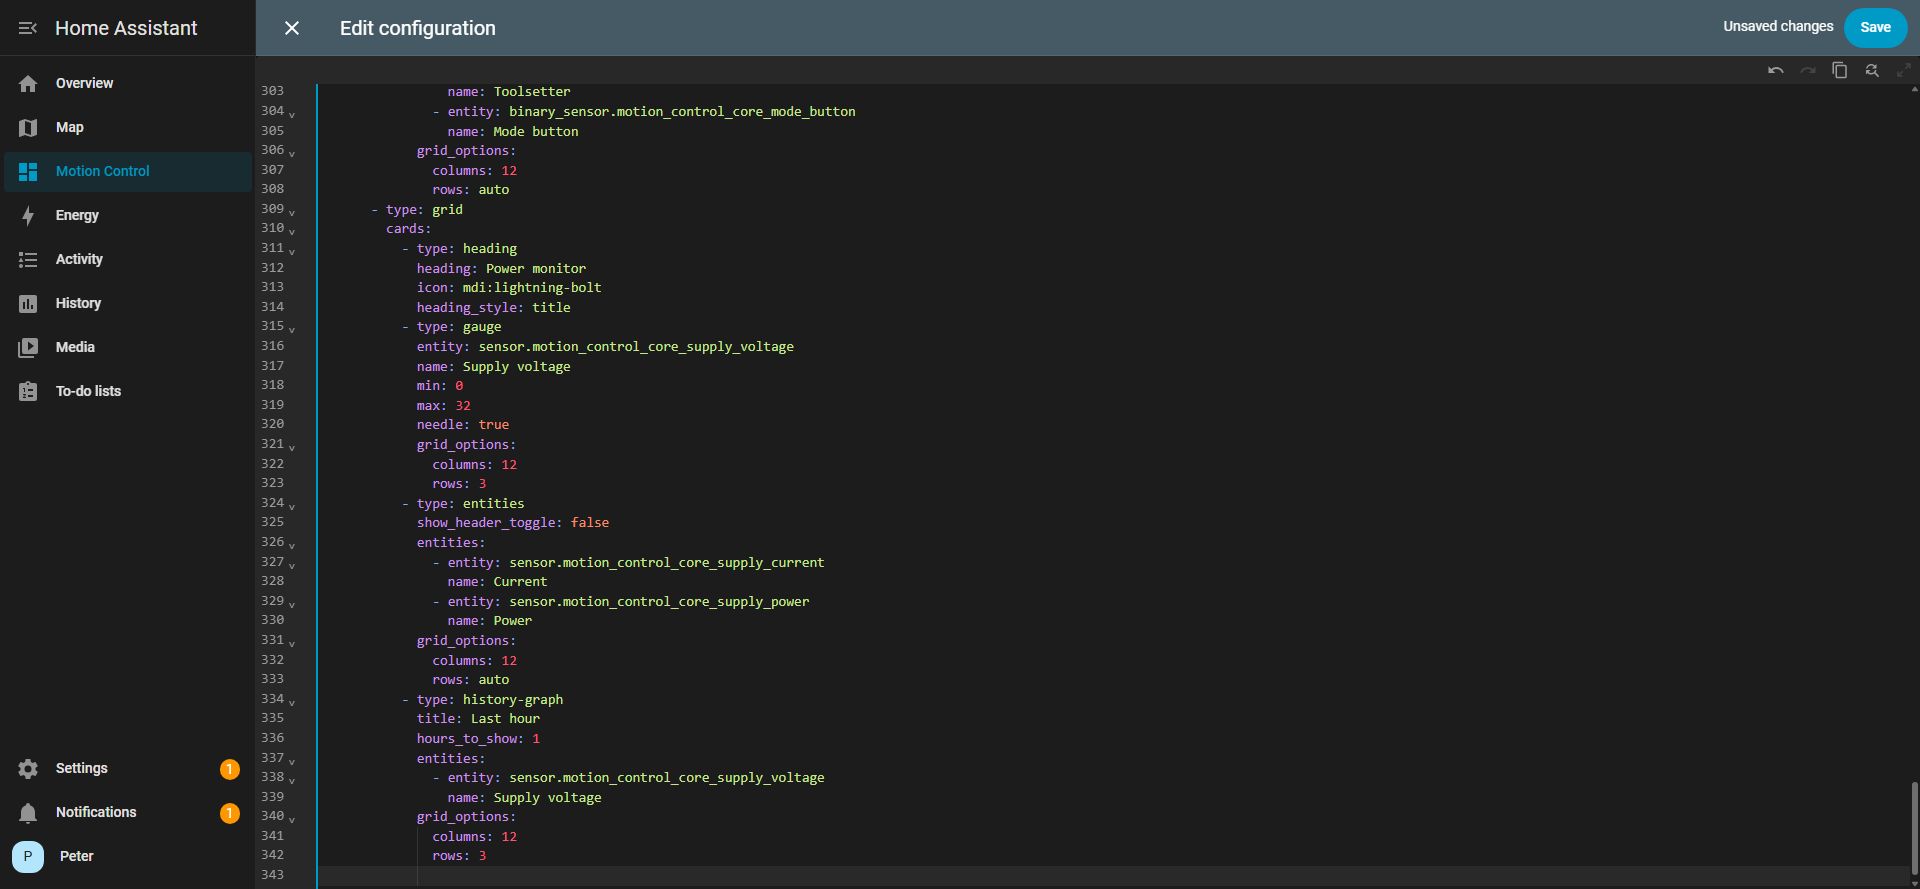
Download dashboard YAML or the equivalent dashboard JSON.
| Image | Instructions |
|---|---|
 |
|
 |
|
If a card shows Entity not found, open the Motion Control Core device page, check the entity ID and update the dashboard to match.
¶ Step 8: Controls
| Image | Instructions |
|---|---|
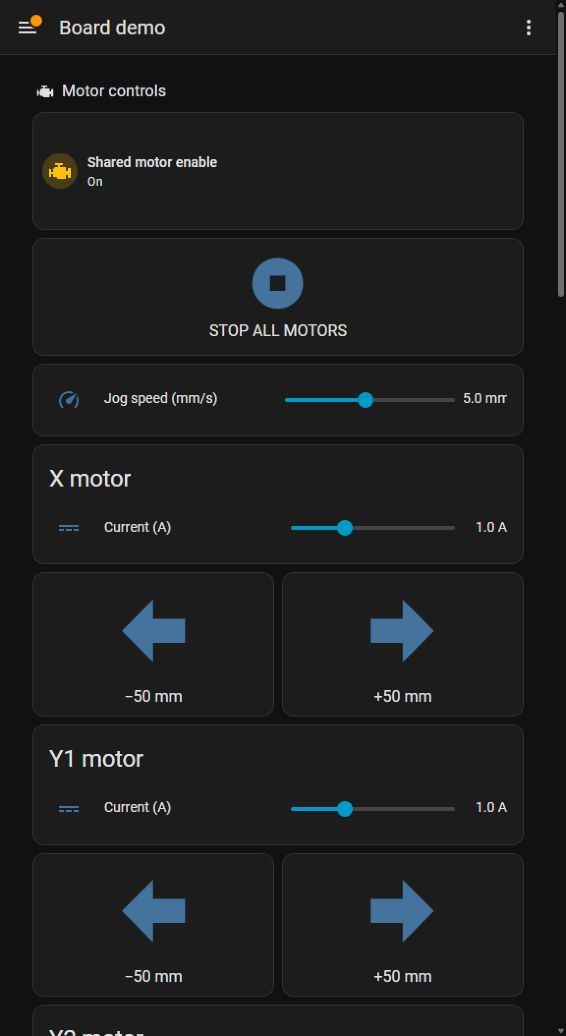 |
|
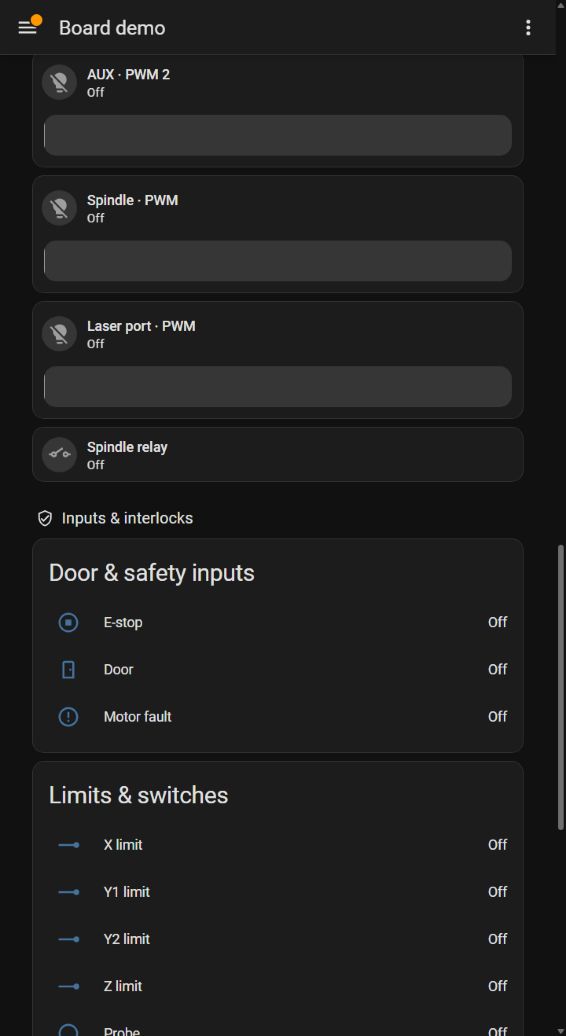 |
|
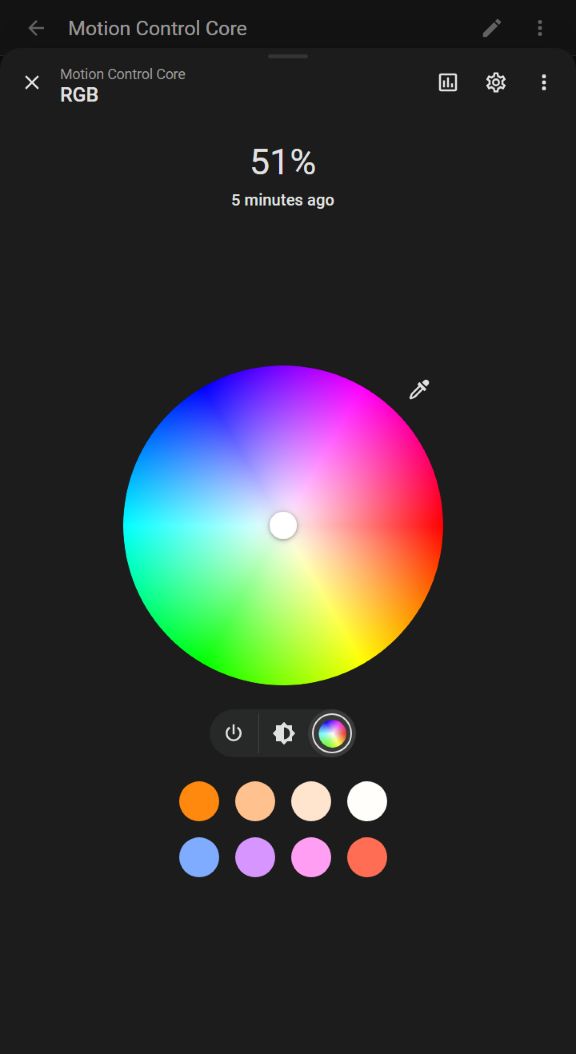 |
|
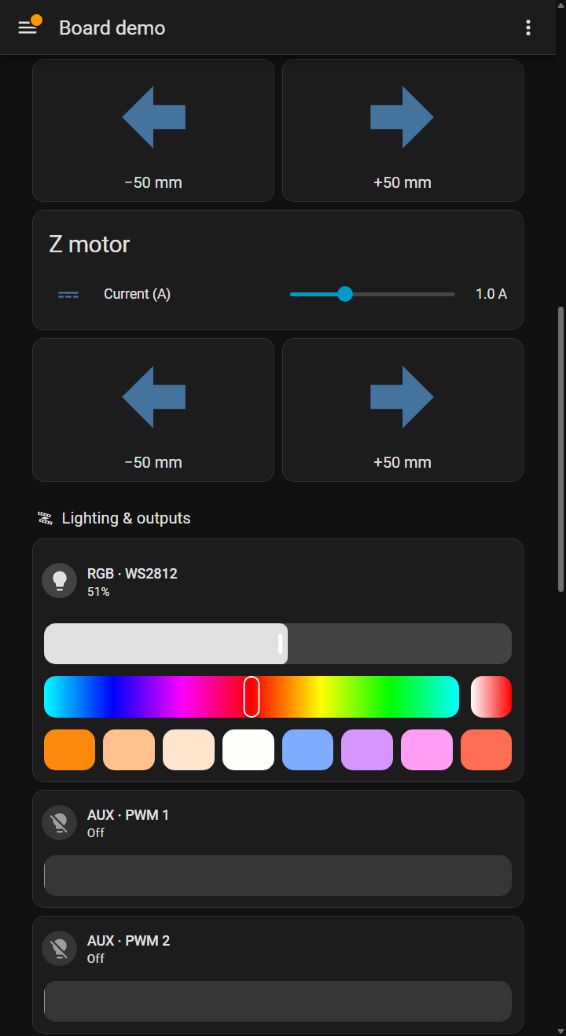 |
|
¶ Set the travel calculation
The example assumes a 200-step motor, 1/16 microstepping and 8 mm of screw travel per revolution:
steps/mm = full steps/revolution × microsteps ÷ travel/revolution
         = 200 × 16 ÷ 8 = 400
50 mm move = 50 × 400 = 20,000 step pulses
5 mm/s speed = 5 × 400 = 2,000 pulses/second
Edit these values at the top of the ESPHome YAML if your mechanics differ, then Save > Validate > Install > Wirelessly:
substitutions:
  motor_full_steps_per_rev: "200"
  motor_microsteps: "16"
  screw_travel_mm_per_rev: "8.0"
  jog_distance_mm: "50.0"
  rgb_led_count: "3"
Set
screw_travel_mm_per_revto the distance the axis moves when the screw turns once. For example, if one turn moves the axis 8 mm, enter8.0. Setmotor_microstepsto match the motor driver's microstep setting; changing the YAML value does not change the driver setting. Thejog_distance_mmvalue sets how far each jog button moves the axis.
¶ Step 9: Automation
The example below makes the physical Mode button toggle the RGB light:
alias: Motion Control Core - Mode button toggles RGB
triggers:
  - trigger: state
    entity_id: binary_sensor.motion_control_core_mode_button
    from: "off"
    to: "on"
conditions: []
actions:
  - action: light.toggle
    target:
      entity_id: light.motion_control_core_rgb
mode: single
To add the automation:
- Click Settings > Automations & scenes > Automations > Create automation > Create new automation.
- Open ⋮ > Edit in YAML, replace its contents with the example above and click Save.
- Wait for the Motion Control Core to start, then briefly press and release the Mode button. The RGB light should switch on or off.
Do not hold Mode while switching on or resetting the Motion Control Core. Holding it can put the Motion Control Core into firmware installation mode instead of starting normally.
Inputs report on/off internally, even if a card displays Open/Closed. A trigger reacts to a change; it does not repeat while the button stays pressed. The base firmware needs no change for this example.
Download more complete examples: mode button, red door warning and notification, or custom event > blue light. Paste each as a separate automation.
¶ Try a custom event
This optional example turns the RGB light blue when Home Assistant receives an event named esphome.motion_core_demo. You can send the event from Home Assistant to test it.
- Download the custom event > blue light automation.
- Create a new automation, open ⋮ > Edit in YAML, paste the downloaded example and click Save.
- Open Developer tools > Events in Home Assistant.
- Under Fire event, enter
esphome.motion_core_demoas the event type. - Paste the following into the event data field:
{
  "board": "motion-control-core",
  "command": "blue"
}
- Click Fire event. The RGB light should turn blue.
If the light does not change, open the automation and check Traces to see whether it received the event. Confirm that the light's entity ID matches the automation. Run actions tests the light action without testing the event trigger.
¶ Troubleshooting
| Problem | What to click or check |
|---|---|
| Device Builder shows Offline | Click Logs over USB and check the WiFi IP. If hostname discovery fails, add use_address: YOUR_BOARD_IP inside the existing wifi: block. Keep that address stable with a router DHCP reservation. |
| USB connection fails | Try a data cable, close other serial programs, reselect the port, or use BOOT/RESET as described in Step 5. |
| Controls are unavailable | Open Settings > Devices & services > ESPHome. Check the Motion Control Core's IP, port 6053 and encryption key. |
| Stop enables holding torque | With motor power disconnected, check the shared enable polarity. This Motion Control Core's tested example uses enable_inverted: "false". |
| Distance or speed is wrong | Check the motor step angle, physical microstep setting and screw lead against the substitutions above. |
| Need a firmware update | In Device Builder, click Edit > Save, then ⋮ > Validate > Install > Wirelessly. Keep USB available for recovery. |