¶ Step 1: Download
Ooznest Control can be installed on Windows, macOS or Linux. Choose the installer for your operating system below, or select Launch Online to run Ooznest Control in your browser.




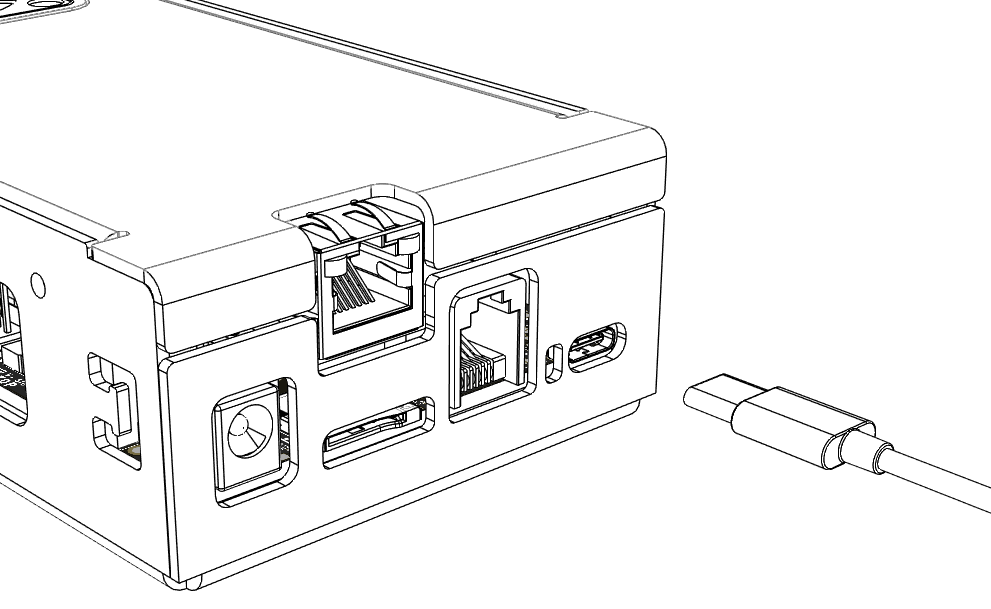
¶ Step 2: USB Cable
Use USB for initial setup even if you plan to use WiFi or Ethernet afterwards; it is also suitable for regular use and troubleshooting.
| Image | Instructions |
|---|---|
 |
|
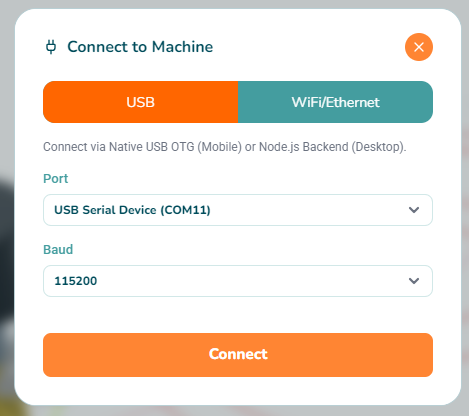
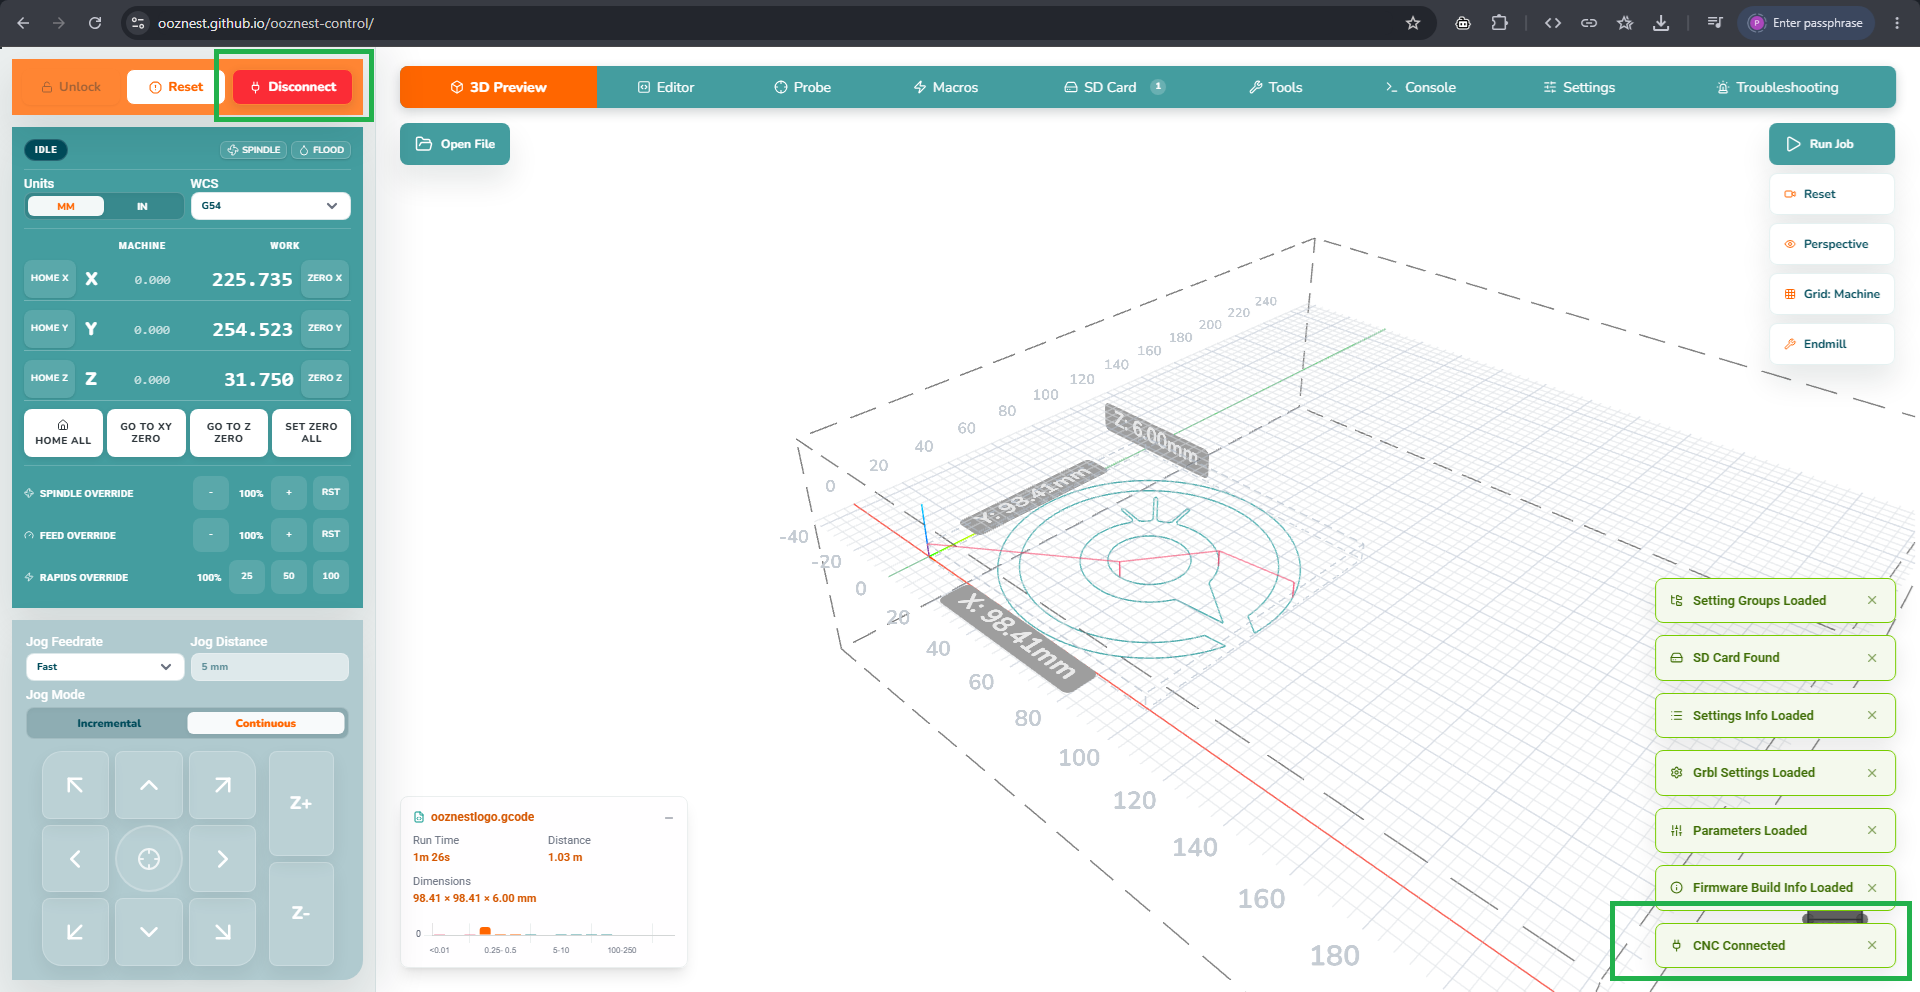
¶ Step 3: Connect
| Image | Instructions |
|---|---|
 |
|
 |
|
| Image | Instructions |
|---|---|
 |
|
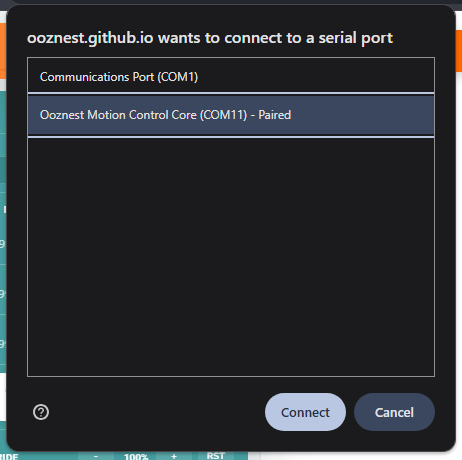 |
|
|
|
¶ Step 4: Configuration
The Configuration Wizard opens automatically for an unconfigured controller. Follow the steps for your machine model, or select a custom machine configuration.
You can reopen the Configuration Wizard at any time by going to Settings > Wizard.
Select WorkBee Z2 if you have installed our WorkBee Z1+ to Z2 conversion kit, or if you have fitted inductive limit switches with two switches on the Y-axis.
| Image | Instructions |
|---|---|
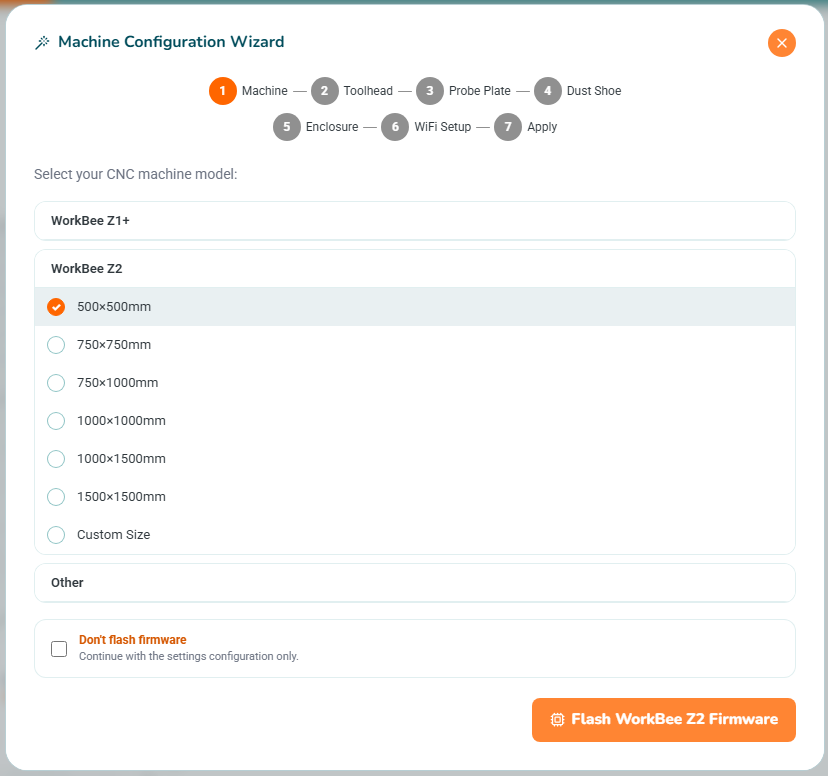 |
1: Machine Select the machine model and frame size that match your machine, then click Flash Firmware. |
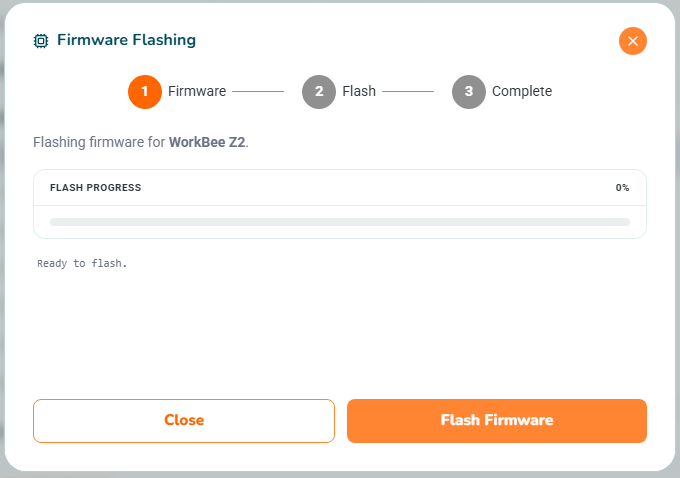 |
Flash Firmware The Firmware Flashing tool programs the controller. Do not disconnect USB or remove controller power while flashing. When it completes, reconnect if it does not do so automatically. |
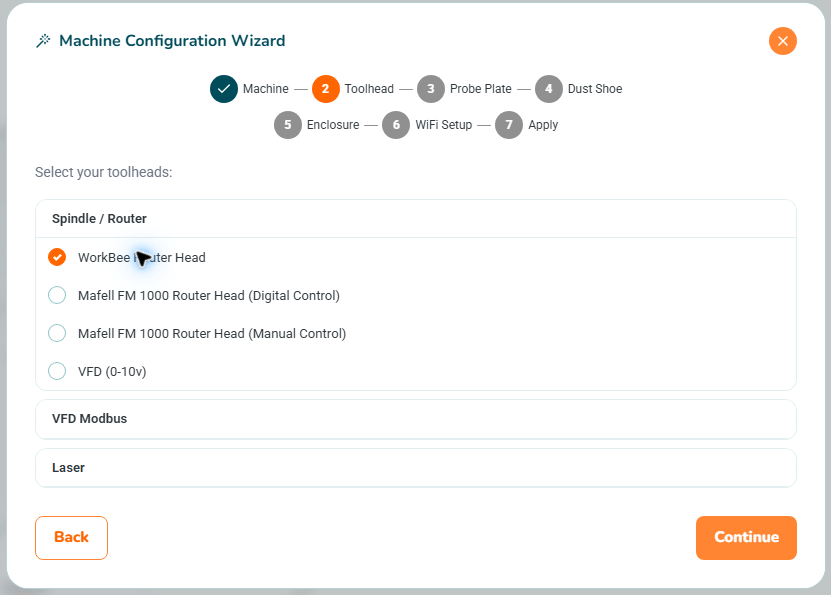 |
2: Toolhead Select the toolhead physically fitted to the machine. |
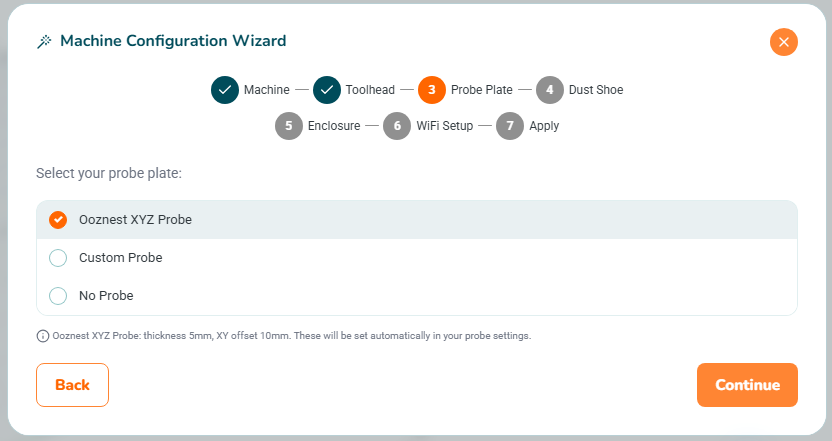 |
3: Probe Plate Select whether your machine has a probe plate fitted and, if so, choose its type. |
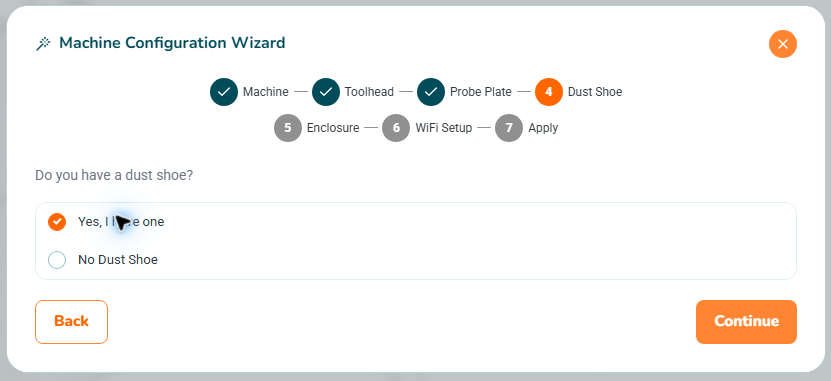 |
4: Dust Shoe Select whether your machine has a dust shoe fitted. |
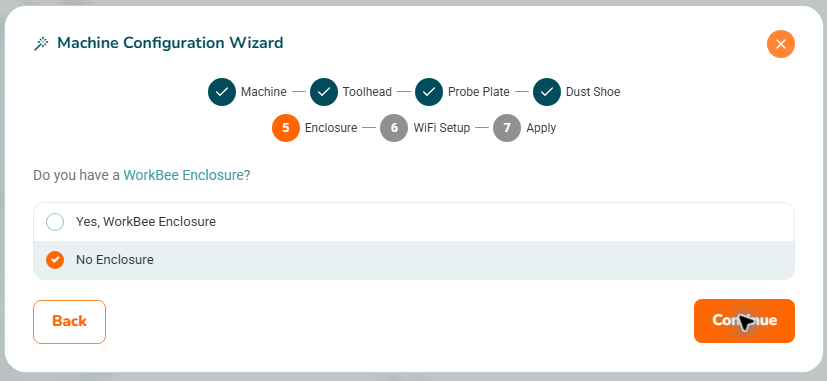 |
5: Enclosure Select whether your machine has an enclosure fitted. |
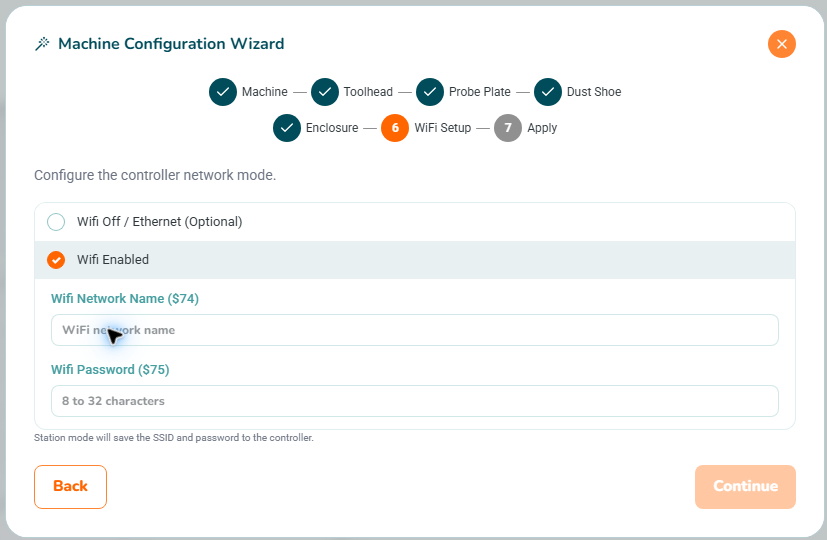 |
6: WiFi Setup Do not enable WiFi if you plan to connect mainly using USB. To set up an Ethernet connection, follow the Ethernet connection guide. |
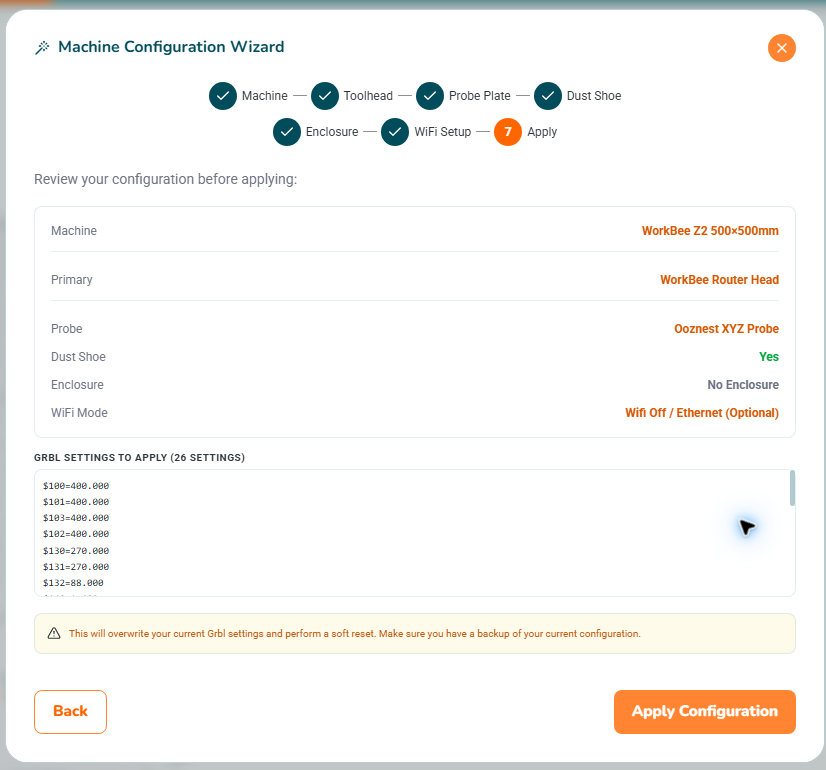 |
7: Apply Review the configuration, then apply it. Applying the configuration will overwrite your current Grbl settings and perform a soft reset. |
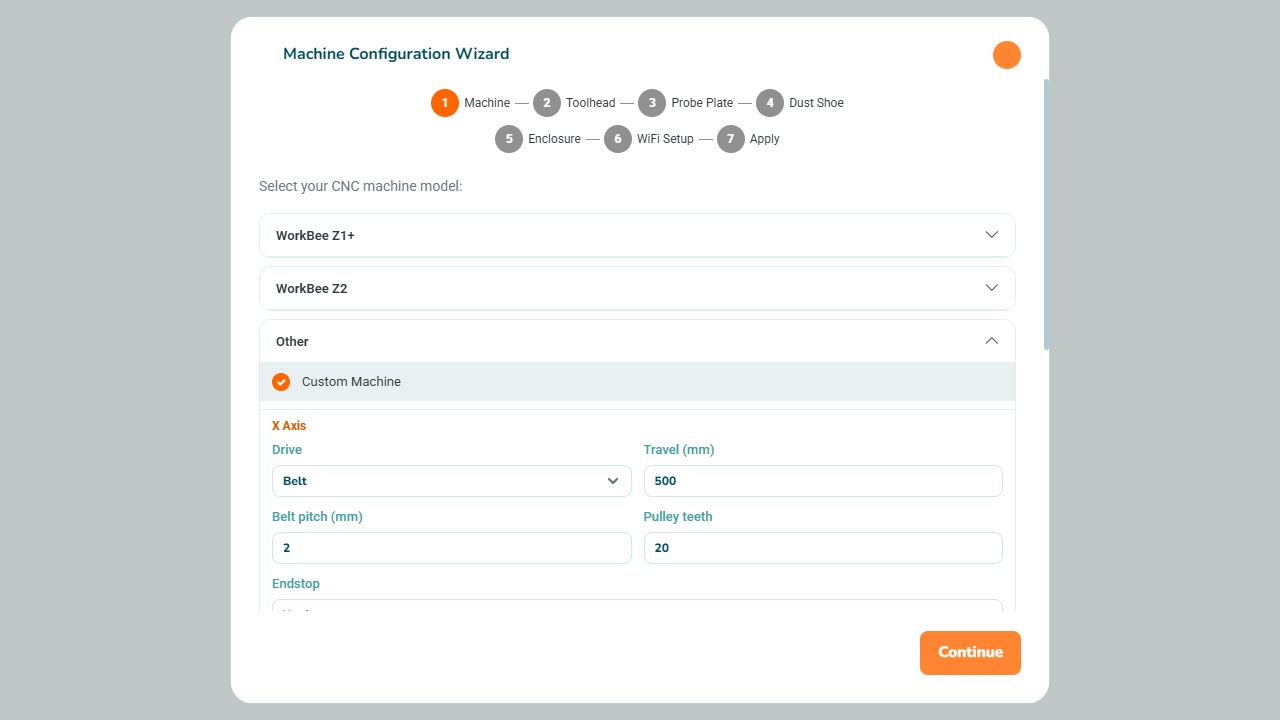
Use this option for a machine other than a WorkBee Z1+ or Z2. The controller must already have compatible grblHAL firmware installed. The pictures show example settings; use your own machine’s dimensions and drive specifications.
| Image | Instructions |
|---|---|
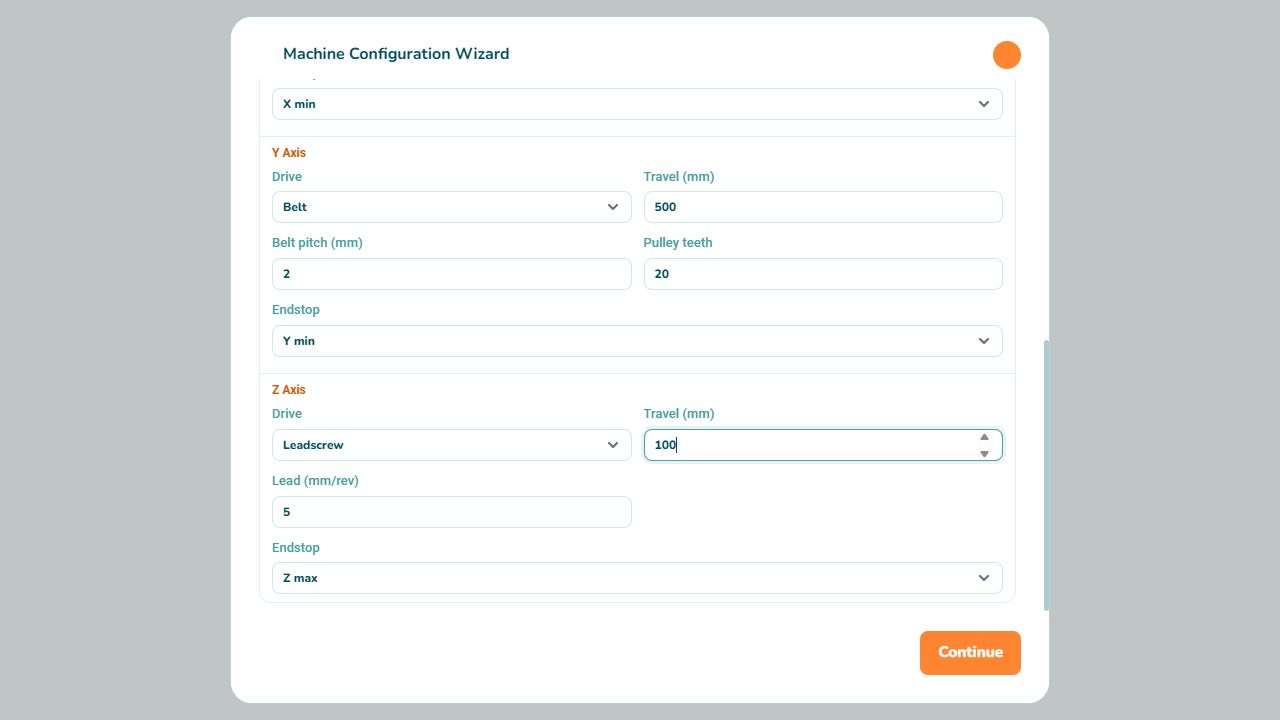
| 1: Machine Expand Other and select Custom Machine. Configure the X, Y and Z axes to match your machine: • Drive: select Belt or Leadscrew. • Travel (mm): enter the usable travel of each axis, not the overall frame size. • For a belt drive, enter the Belt pitch (mm) and number of Pulley teeth. • For a leadscrew, enter the Lead (mm/rev) — the distance the axis moves in one full screw revolution. For a multi-start screw, this is not the thread pitch. • Endstop: select the min or max end of the axis where the homing switch is fitted. Scroll down to complete all three axes, then click Continue. The custom route does not flash WorkBee firmware. |
|
| Axis settings (continued) The picture shows the lower part of the same Machine step, including a leadscrew-driven Z axis. The values shown are examples; enter the values for your own machine. |
|
|
2: Toolhead Select the toolhead physically fitted to your machine and its control method. If using a Modbus VFD, select its matching protocol. |
|
3: Probe Plate Select WorkBee XYZ Touch Probe, Custom Probe Plate or No Probe Plate, as fitted. For a custom plate, enter its measured Plate Thickness (mm) and XY Plate Offset (mm). |
|
4: Dust Shoe Select whether your machine has a dust shoe fitted. |
|
5: Enclosure Select whether your machine has an enclosure fitted. |
|
6: WiFi Setup Do not enable WiFi if you plan to connect mainly using USB. To set up an Ethernet connection, follow the Ethernet connection guide. |
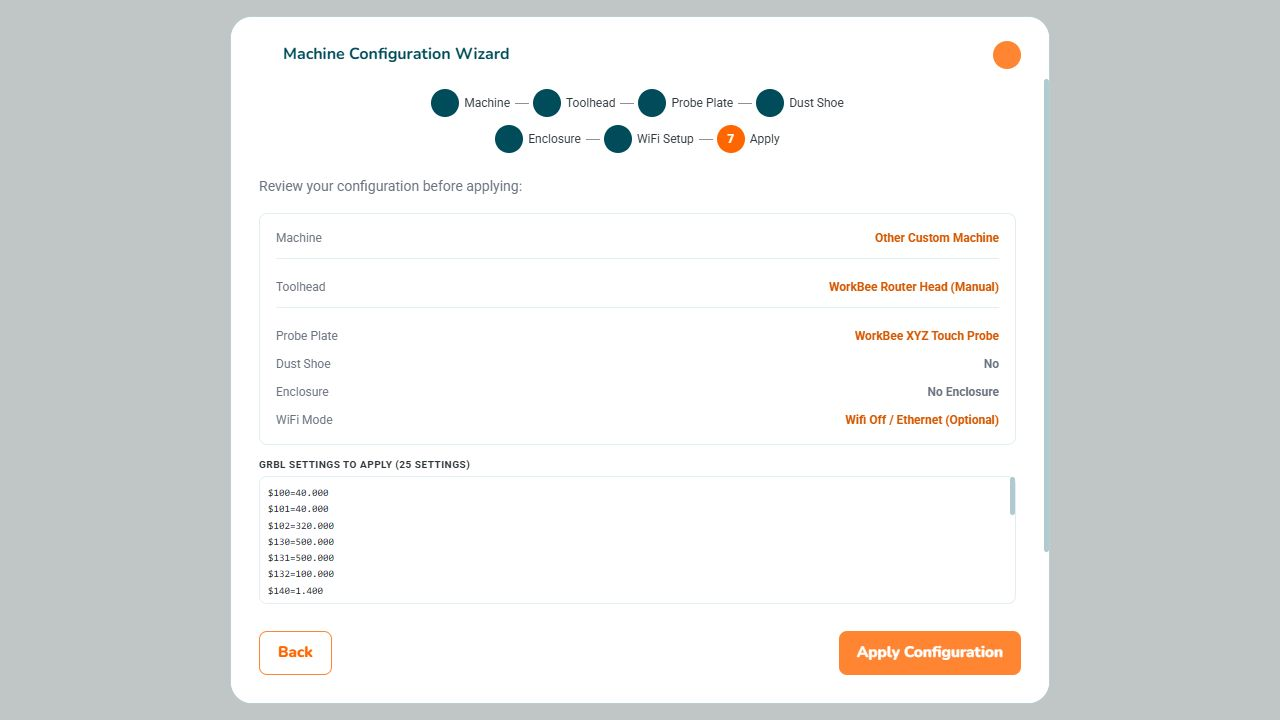
| 7: Apply Check that the machine is shown as Other Custom Machine. Review the toolhead, probe, accessories and network mode, then check the proposed Grbl settings. If anything is incorrect, click Back to change it. |
Before moving or homing the machine, check its motor configuration, steps/mm, current, homing direction and limit-switch operation. Verify the homing direction in Settings before the first homing cycle.
The custom wizard calculates steps/mm using 1,600 motor steps per revolution (1.8° motors at 1/8 microstepping). Check that this matches your motor and driver settings.
¶ Step 5: Finish
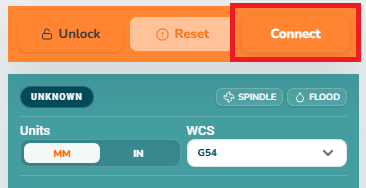
Check that the configuration was applied successfully. Reconnect if required.
After changing network settings, disconnect the USB cable and switch off power to the controller completely, then switch it back on. A soft reset will not apply these changes.
Check for any alarms and investigate and resolve them before moving the machine.
¶ Next steps
Setting up a WorkBee? Continue to 4.3 Testing Your WorkBee.
Learn more about Ooznest Control.